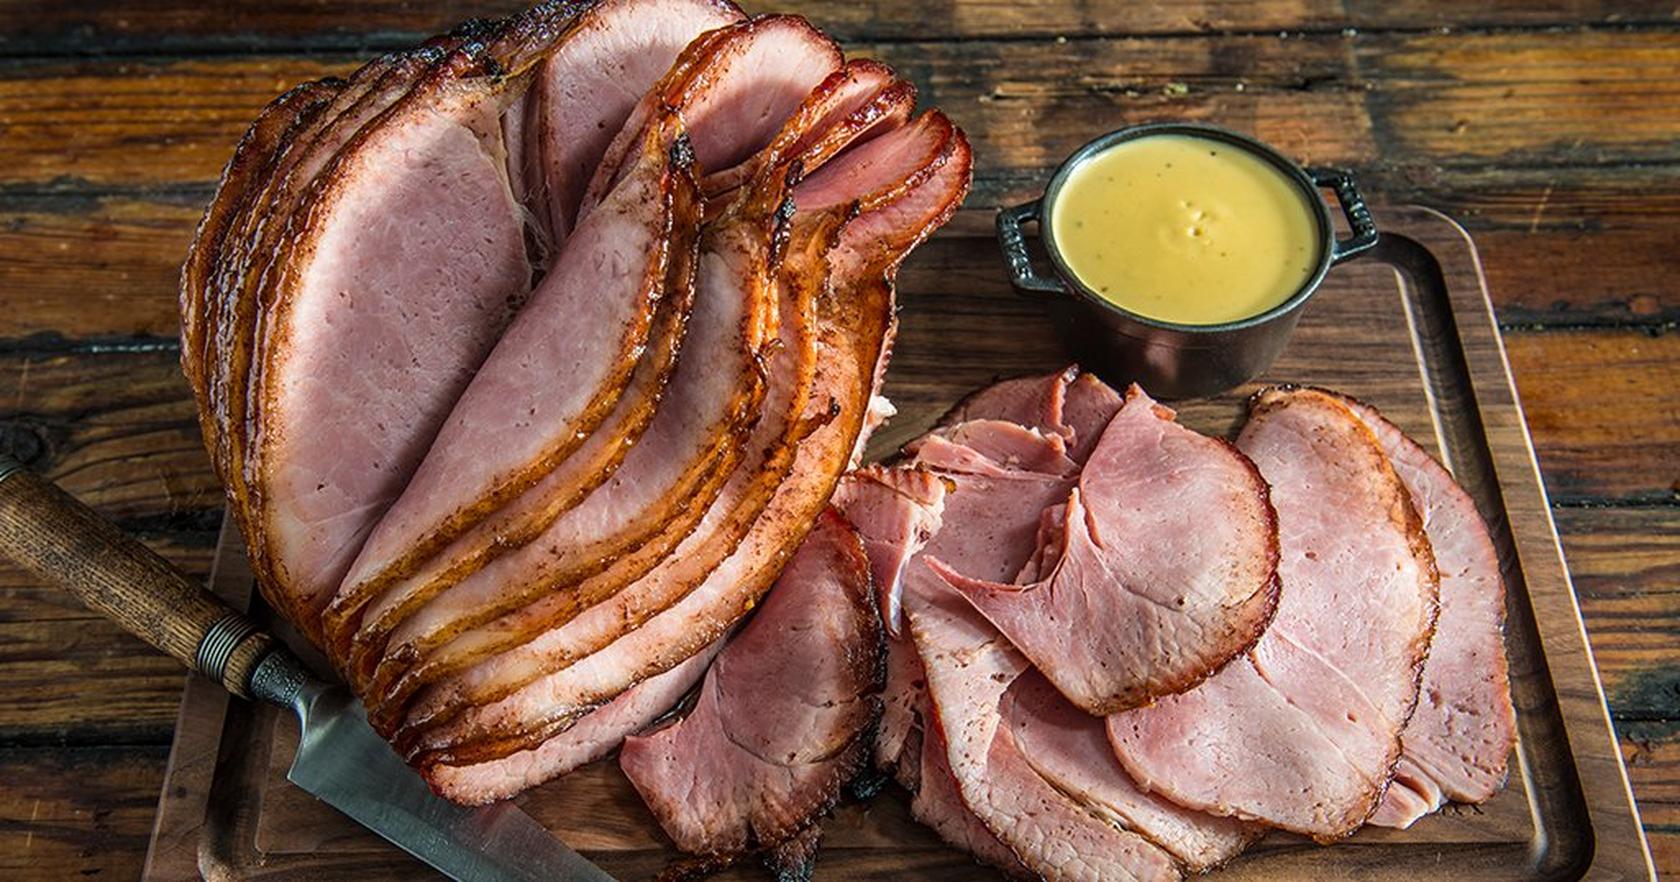
How to Brine a Turkey for Smoking
Jump To Recipe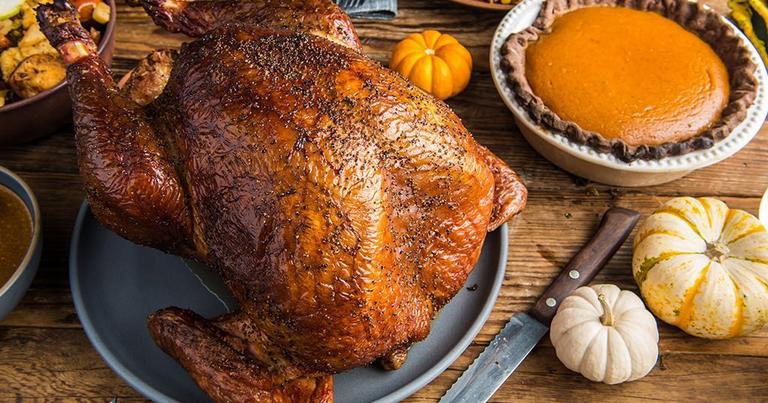
Why You Should Brine Your Thanksgiving Turkey
Soaking your turkey in a salty bath makes it moist, tender, and full of flavor. The secret to perfect poultry lies not just in how it’s cooked, but in what’s done to it before cooking. This year, carve out some time to brine your bird. A brine is a salt and water solution that can also contain sugar and other flavorings. Submerging the turkey in this salty solution for at least a day ensures it will cook up tender and juicy. How does this work? The salt solution will travel into the turkey, bringing additional moisture (and with it, additional flavor) deep into the meat. When the turkey cooks, it will still lose moisture but now has ample excess, so it stays juicy. The salt also breaks down proteins, making the turkey exceptionally tender, too. One thing to keep in mind is that while the turkey won’t taste overly salty, its juices will be quite salty, so if you plan to use them in your gravy keep that in mind.
What is in a Smoked Turkey Brine?
Technically a brine is defined as water saturated with salt. In cooking, we also refer to a dry brine, which involves heavily salting (and seasoning) a piece of meat before cooking. Though a dry brine is certainly another good option for turkey, this article will focus on liquid brine. At its most basic, a brine is a mix of water and salt, but you can infuse extra flavor by adding other ingredients, such as sugar, garlic, herbs, and other liquids.
How to Brine a Turkey For Smoking
When creating a brine—whether for turkey, chicken, or a rack of ribs—there are a few key steps.
Plan ahead. For the best results, you will want to start the process a couple of days before you plan to cook your turkey.
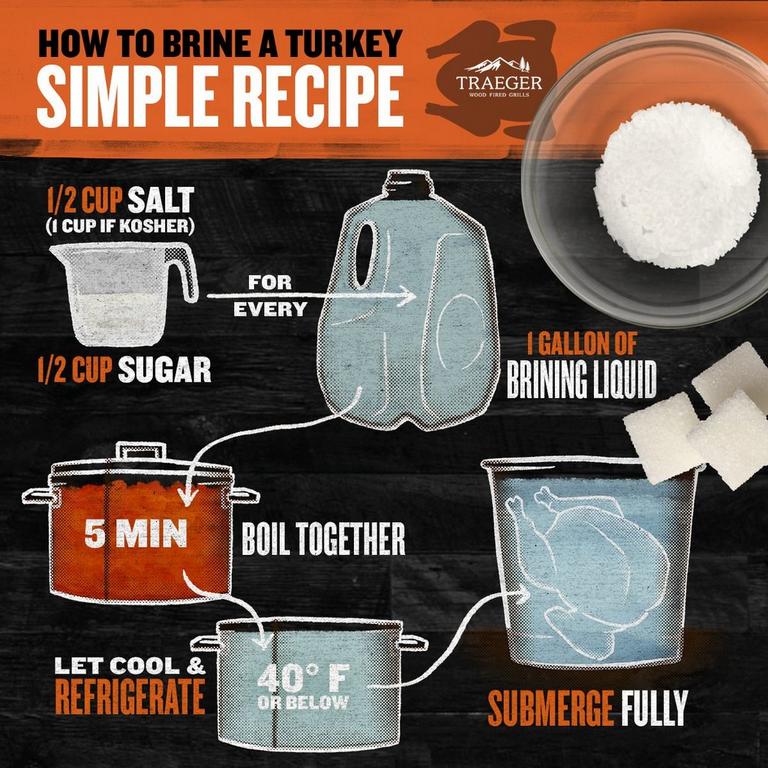
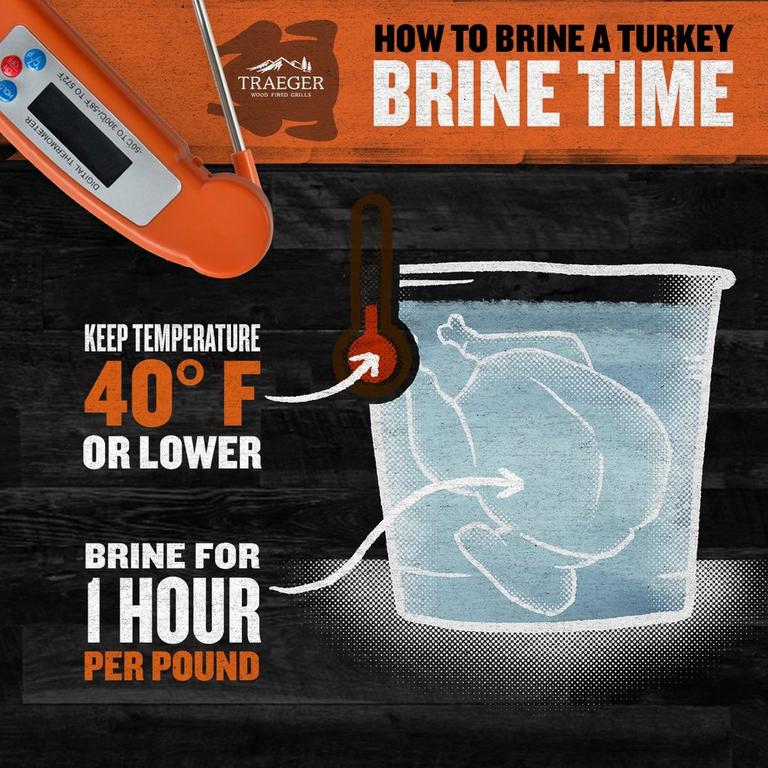
How long should you brine a turkey for? You will need to brine your turkey for at least 12 hours (though 24 is better). Then, once you remove it from the brine, you want to let it air dry for the crispiest skin, so plan for at least another 12 hours of drying or, better, another 24 hours. The general rule of thumb for brining is about 1 hour per pound of turkey, with 24 hours the maximum you should brine any bird. No matter how you flavor your brine, it's critical that the brine temperature is below 40 degrees Fahrenheit when you add the turkey, and throughout the entire brining process, so make sure to clear some room in your fridge.
Find a container to hold the turkey and make space in your fridge. Brining is not difficult to do and is mostly hands-off. The hardest part may be finding a pot large enough to hold your turkey in its brine and to make space in your refrigerator for it. No room for that? You can double bag two unscented garbage bags, put the turkey in there, then transfer the turkey in the bag to a large cooler. Pour in the cold brine to cover the turkey and tightly close each bag separately. Then keep the turkey cold and submerged by piling bags of ice over and around the closed bags. If using this method, be aware that you will likely need to add additional ice to keep the turkey at a safe, cold temperature (below 40°F).
Use ample salt. For a brine to be successful the solution needs to be super salty. Since salt crystals vary in size, the actual volume amount can vary, but most recipes suggest a ratio of 1 cup of salt per gallon of water. (At the very least, use ½ cup per.) Any salt will work here but keep in mind that not all salts are created equal. Table salt is a small crystal, whereas sea salt or kosher salt is coarser. Due to smaller crystals, 1 cup of table salt weighs more than 1 cup of kosher salt which means that your brine will be more concentrated if you use table vs. kosher. The different salts won't create much of a difference in the flavor profile but could change the salinity of your brine.
Add some sugar. Most brines contain sugar, brown or white. While sugar does not affect the texture of the meat, it does add flavor and promotes browning of the skin.
Consider adding other liquids. An easy way to add flavor to a brine is to add other liquids to it. Apple cider, stock, wine, beer, and booze are all great options. Never replace all the water in a recipe with these liquids; rather, think of them as an accent or additional flavoring. Adding very salty or acidic liquids such as vinegar, wine, or soy sauce can affect the flavor profile and saltiness of the finished product, so keep those additions to a minimum.

Boost the brine’s flavor with vegetables, spices, and herbs. Adding aromatics to your brine can subtly flavor your turkey. Garlic, onion, and fresh herbs are always good choices. Apples can add a slight sweetness while lemon and orange peel can add a bit of tang. (For an easy brine that’s also delicious consider the Traeger Orange Brine and Turkey Rub Kit.)
Bring your brine to a boil, then let it cool completely. To allow the ingredients to completely mix and for the salt and sugar to dissolve, the brine must be brought to a boil. As important as the boil is letting the liquid cool. If the brine is warm when you submerge your bird, it will bring the temperature of the raw turkey into the bacterial danger zone. To cool your brine quickly, you can dissolve the salt and sugar in a smaller amount of water and then add cold water to it.
Submerge the turkey in the cold brine**.** Once the brine is completely cool, add your turkey to it and keep it in the fridge for at least 12 hours and up to 24 hours. The general rule of thumb for brining is at least 1 hour per pound of turkey.
Let your turkey air dry for the crispiest skin. While the turkey brine helps moisten the meat, the skin needs to be nice and dry to get that crispy finish.
When you remove the bird from the brine, drain the cavity well, then pat the turkey dry.
If you have the time, transfer the turkey to a rack on a rimmed baking sheet and let it air dry uncovered in the refrigerator for at least a few hours and up to 24 hours. The skin will air out while retaining the bird's internal moisture.
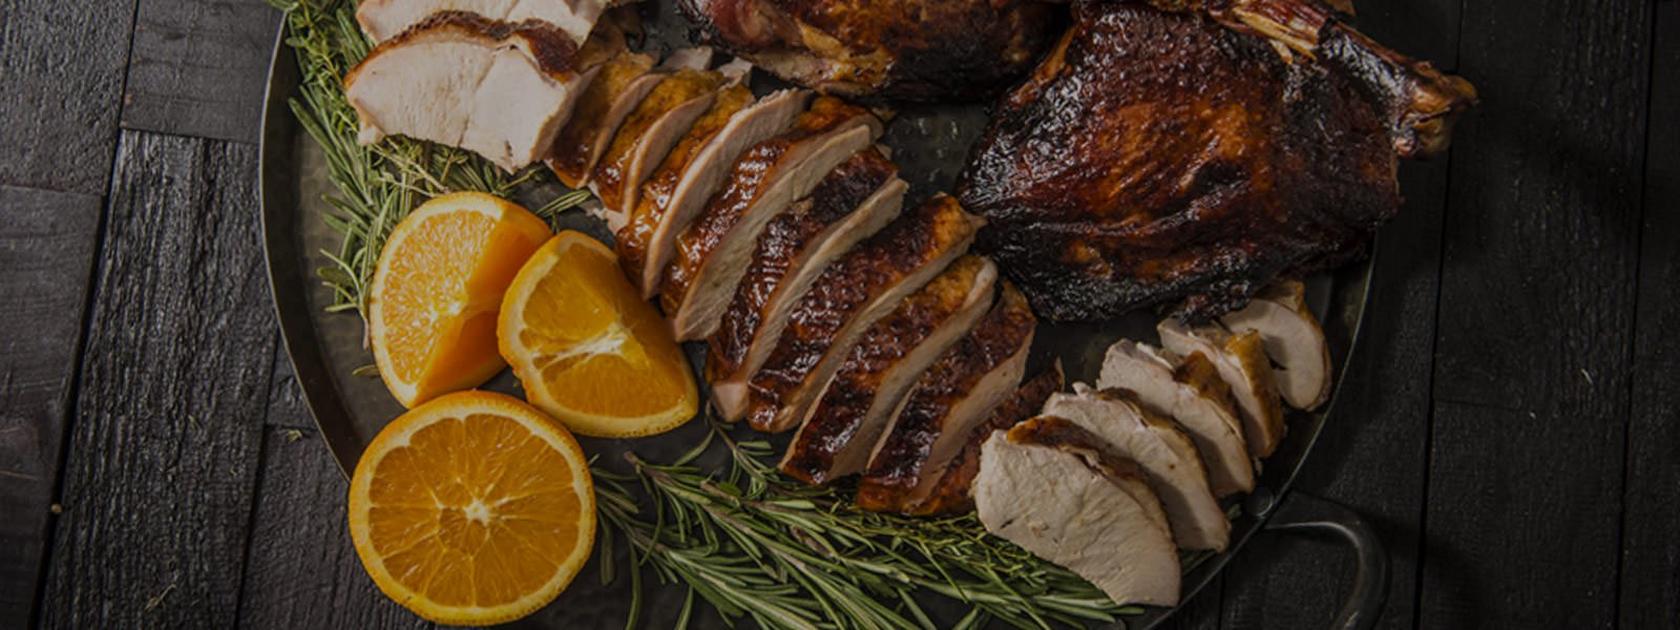
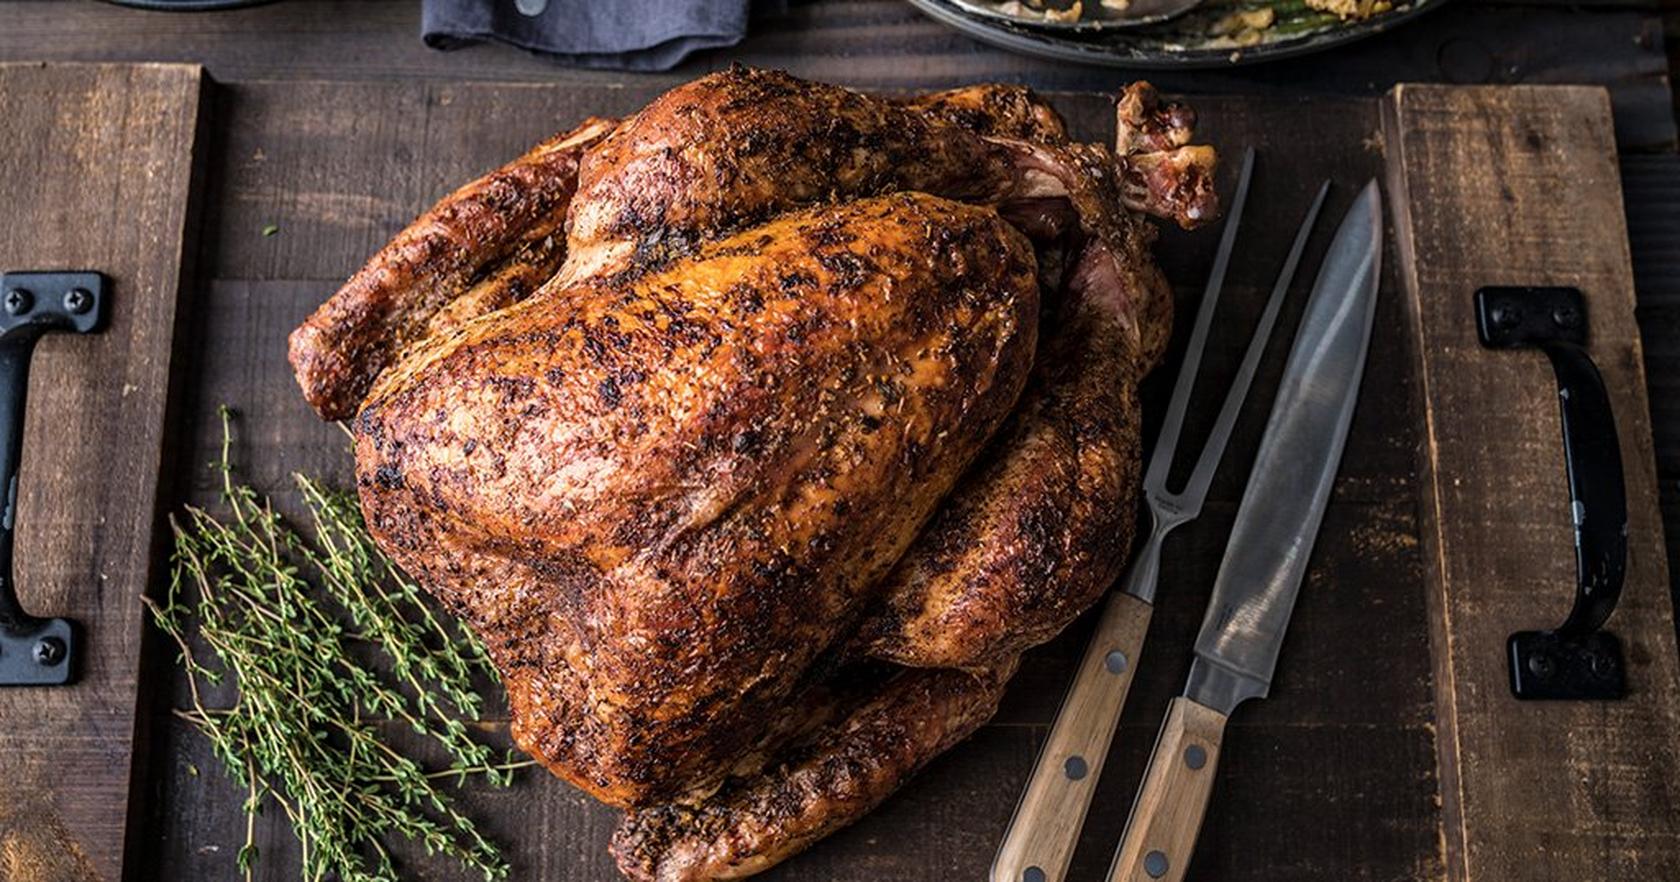
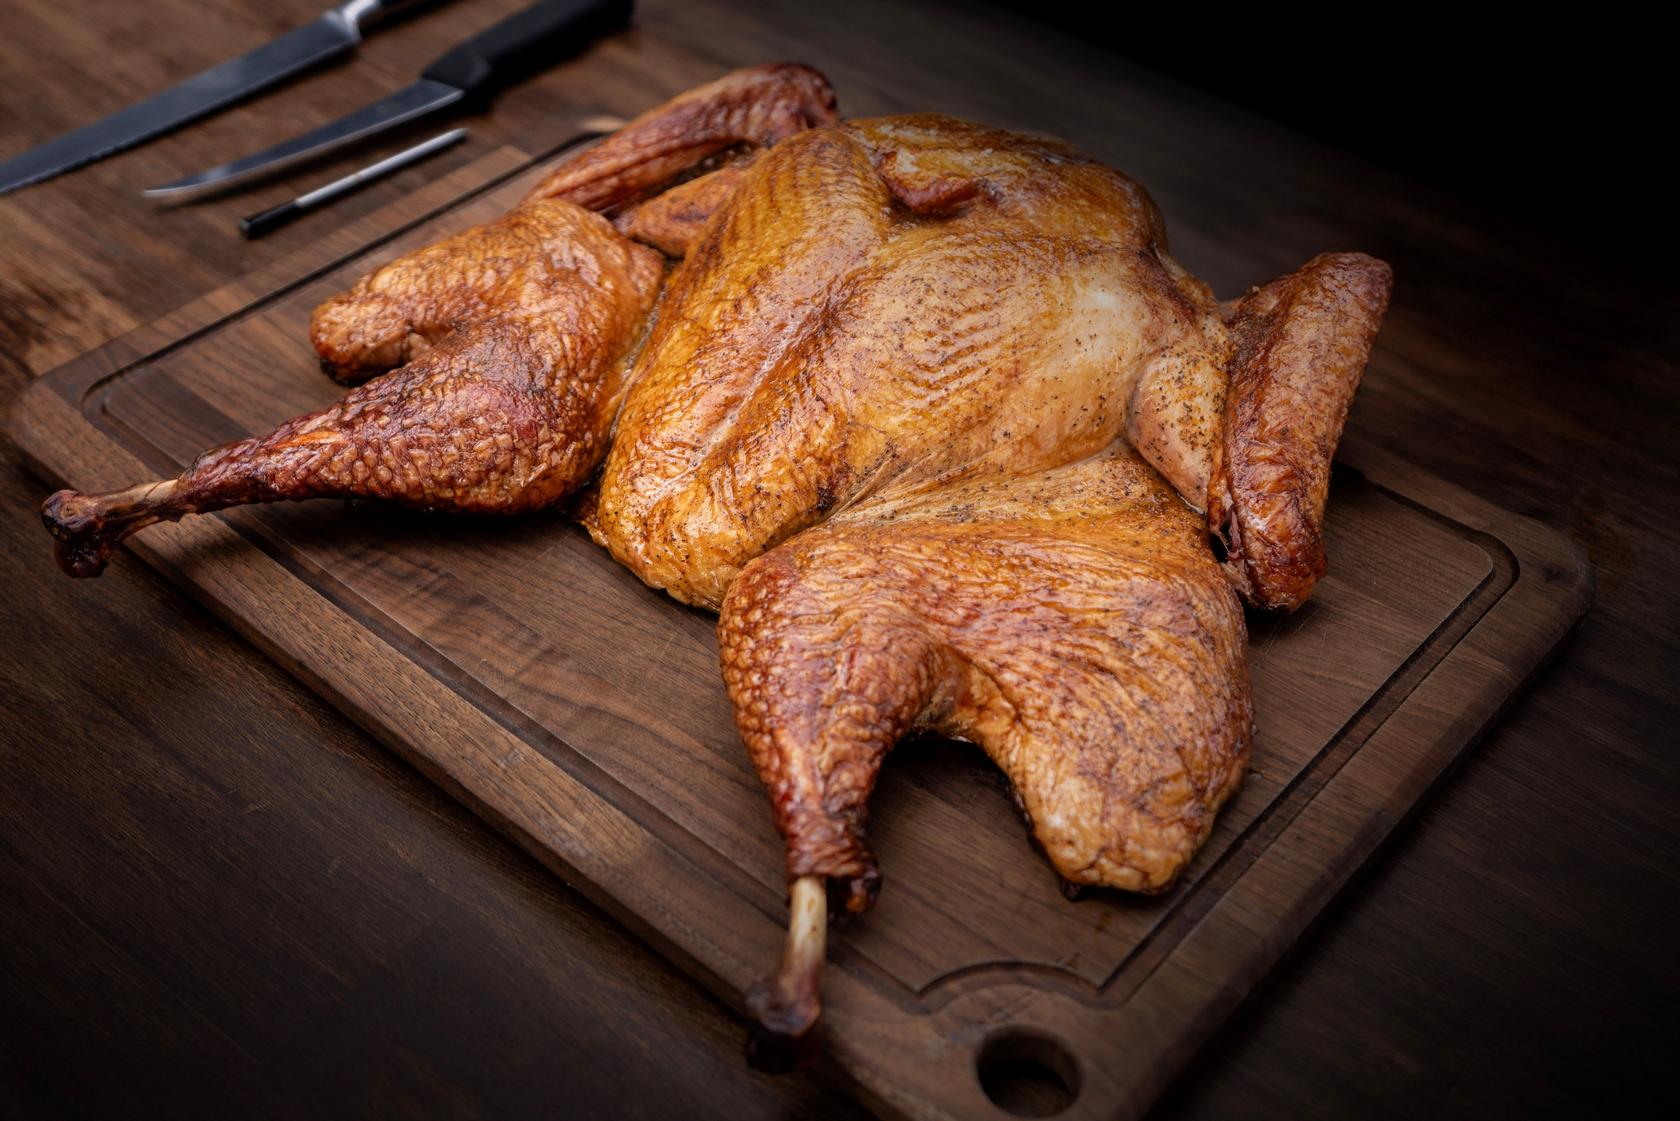
Cook as desired. Once the turkey is sufficiently dry, it’s ready for roasting or smoking on your Traeger. You can add more flavor at this point, too, with, say a spice rub or flavored butter stuffed under the turkey’s skin. Whether you smoke it low and slow or roast it over high heat, your turkey will turn out beautifully.

Make Sure You Are Well Prepared for the Big Day
Whether you’re making a bare-bones brine or going for an all-out flavor assault, make sure you have everything you need before the big day arrives. We have the brine kit, rubs, tools and hardwood pellets you need to make a next-level turkey. You can also find out more about creating the ultimate Thanksgiving feast, including recipes and tips & tricks, here
FAQ's
What is turkey brining?
Turkey brining is the process of soaking a turkey in a solution of salt, water, and often other flavor-enhancing ingredients like herbs, spices, and sweeteners. This helps to season the turkey, make it more flavorful, and keep it moist during cooking.
How long should you brine a turkey?
The length of time that you brine a turkey depends on the size and specific recipe. However, here is a good rule of thumb:
- Small to medium sized turkey (12-14 pounds): Brine for around 12-18 hours.
- Large Turkey (15-20 pounds): Brine for about 18-24 hours.
Why should I brine my turkey?
Brining a turkey has several benefits. It adds flavor to the meat, making it more tasty and savory. It also helps to retain moisture, preventing the turkey from becoming dry during roasting. Brining can result in a more tender and succulent turkey.
Smoked Turkey Breast
by Traeger Kitchen
26 Reviews
Prep Time
20 Min
Cook Time
2 Hr
30 Min
Serves
8
Pellets
Turkey Blend
Get ready for turkey day with this epic smoked turkey breast. Brine your turkey breast to lock in juices and flavor, then slow smoke and roast for a memorable meal that's flavorfully rewarding. Plan ahead! This recipe requires an overnight brine.
Ingredients
Brine
| 8 Quart | water |
| 1 Cup | plus 1 teaspoon kosher salt |
| 1/3 Cup | brown sugar |
| 1/2 Cup | molasses |
| 1/2 Teaspoon | garlic salt |
| 1/2 Teaspoon | onion powder |
| 1 Teaspoon | freshly ground black pepper |
| 7 | fresh sage leaves |
| Ice | |
| 1 | (8-10 lb) turkey breast |
Rub
| 2 Tablespoon | unsalted butter, room temperature |
| To Taste | Traeger Pork & Poultry Rub |
1
Make the brine: In a large pot, combine the water, 1 cup of salt, brown sugar, molasses, garlic salt, onion powder, pepper, and sage leaves. Bring to a simmer over medium heat, stirring to dissolve the salt and sugar. Remove the pot from the heat and add the ice. Stir until melted, then let the brine cool completely.
2
Place turkey breast in the brine and weigh down with a couple of plates to ensure it is fully submerged. Cover with a lid, plastic wrap, or foil and place in the refrigerator for at least 24 hours.
3
When ready to cook, set the Traeger temperature to 375℉ and preheat with the lid closed for 15 minutes.
4
Meanwhile, remove the turkey from the brine and rinse well. Pat dry with paper towels. Spread the butter evenly over the skin, then season with Traeger Pork & Poultry Rub.
5
Insert the probe into the thickest part of the breast. Place the turkey directly on the grill grates, close the lid, and cook until the internal temperature reaches 165℉, 2-2 1/2 hours for your smoked turkey breast.
6
Remove the turkey from the grill and let rest for 15 minutes so the juices can redistribute before slicing and serving. Enjoy!