This is a carousel. Tab through the slides for content.
Latest Posts
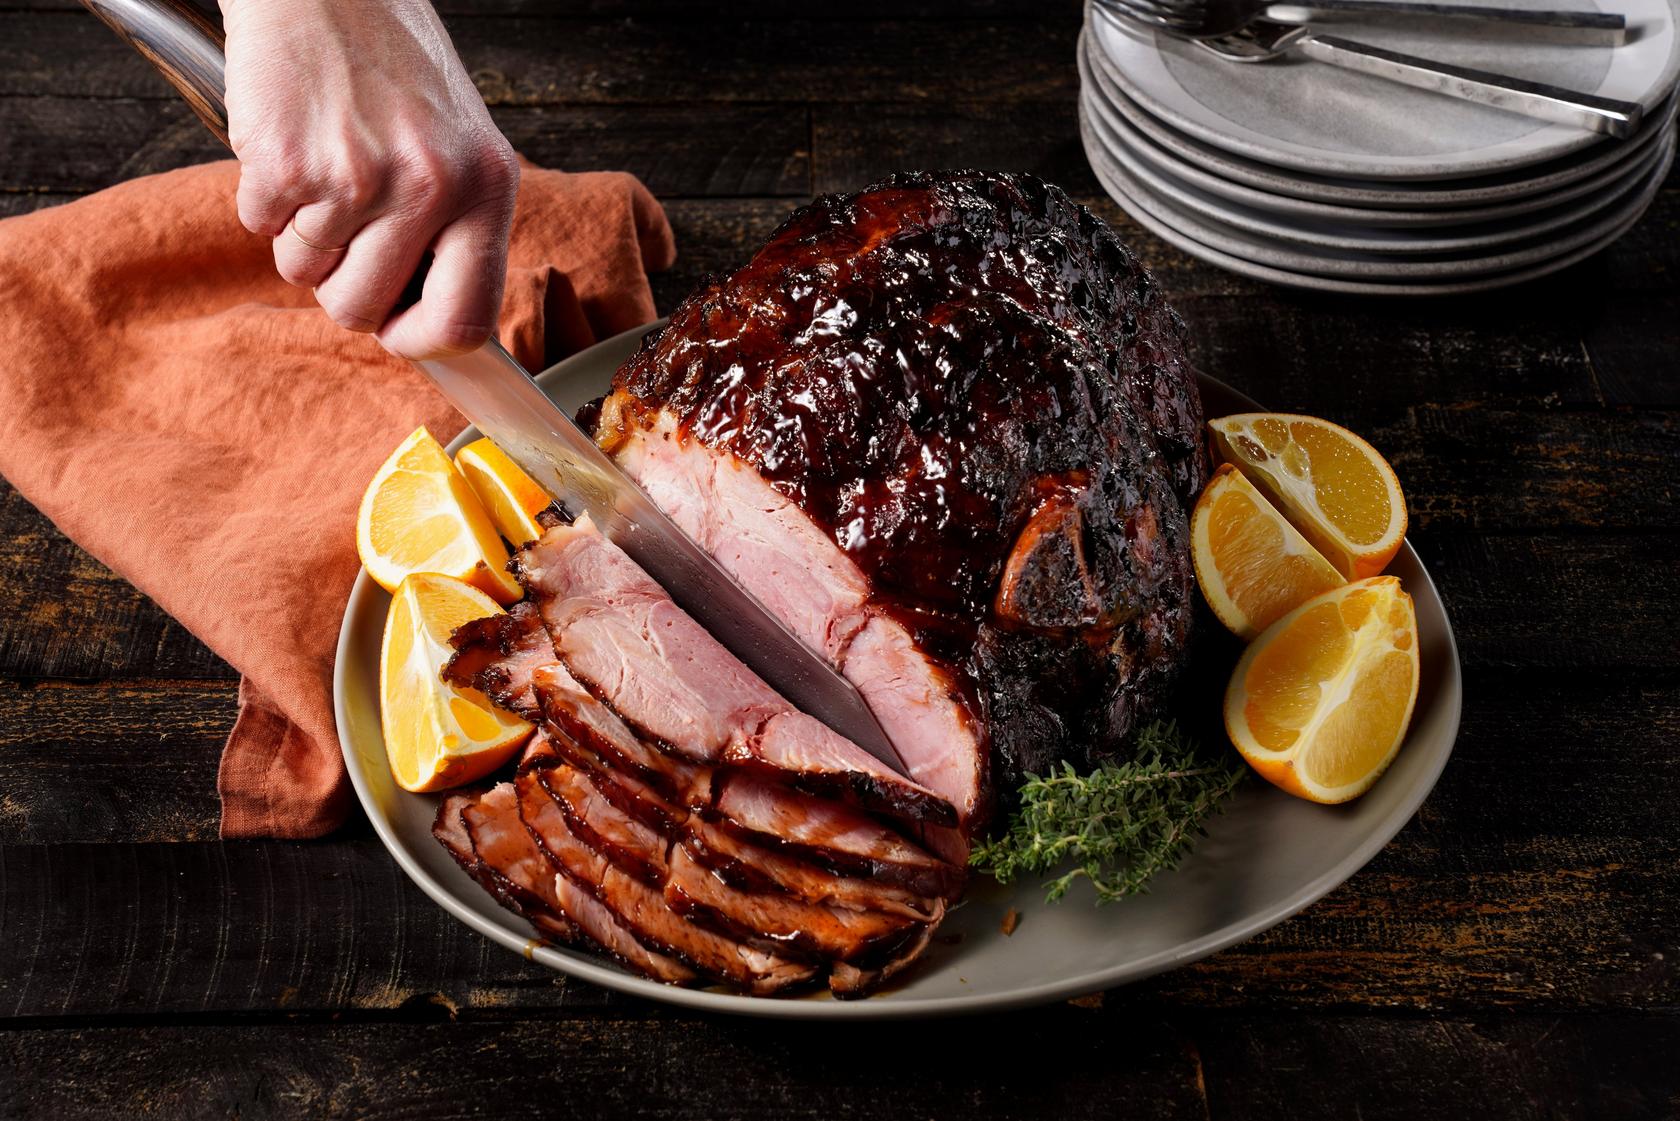
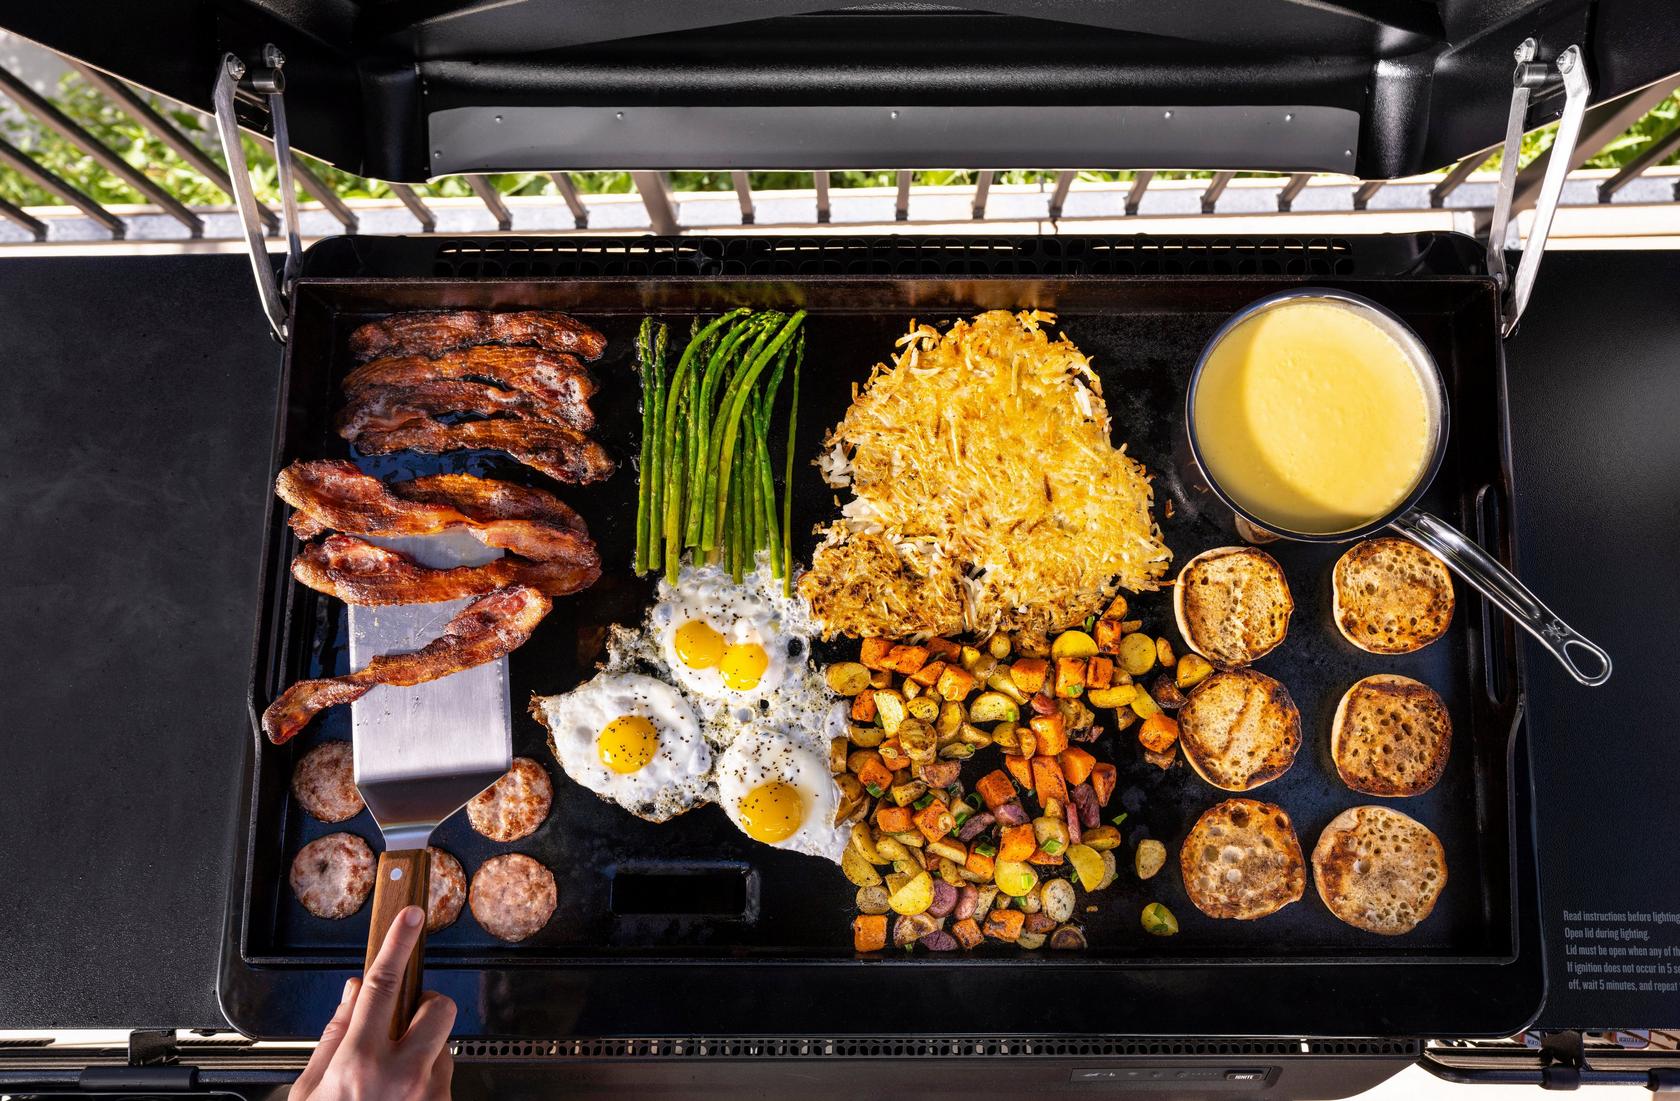
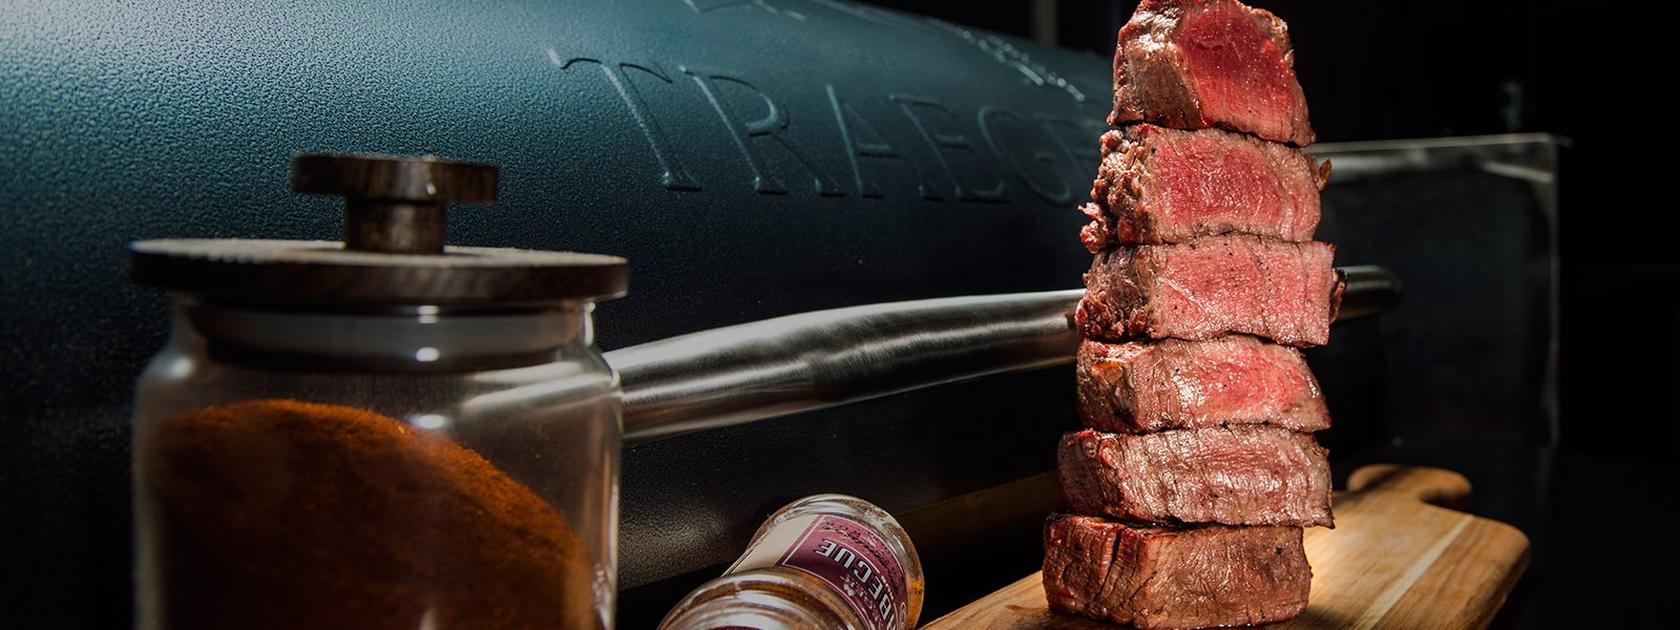
Best BBQ Recipes
Fire up your pellet grill and discover the best BBQ recipes featuring succulent brisket, tender pulled pork, savory ribs, and more.
This is a carousel. Tab through the slides for content.
New Matt Pittman BBQ Recipes
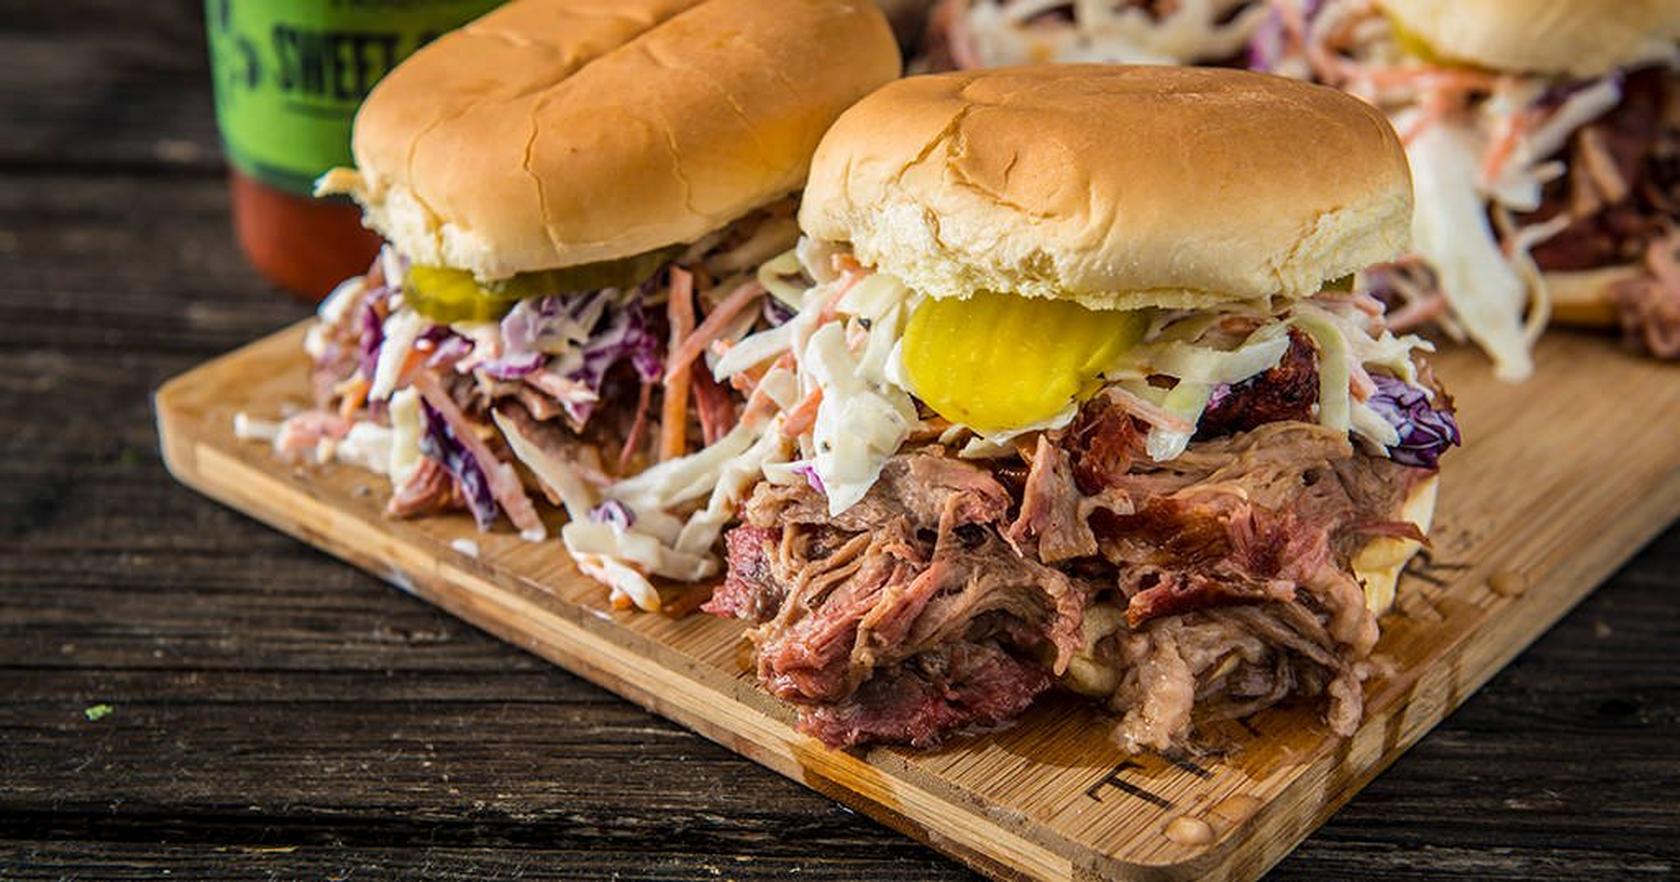
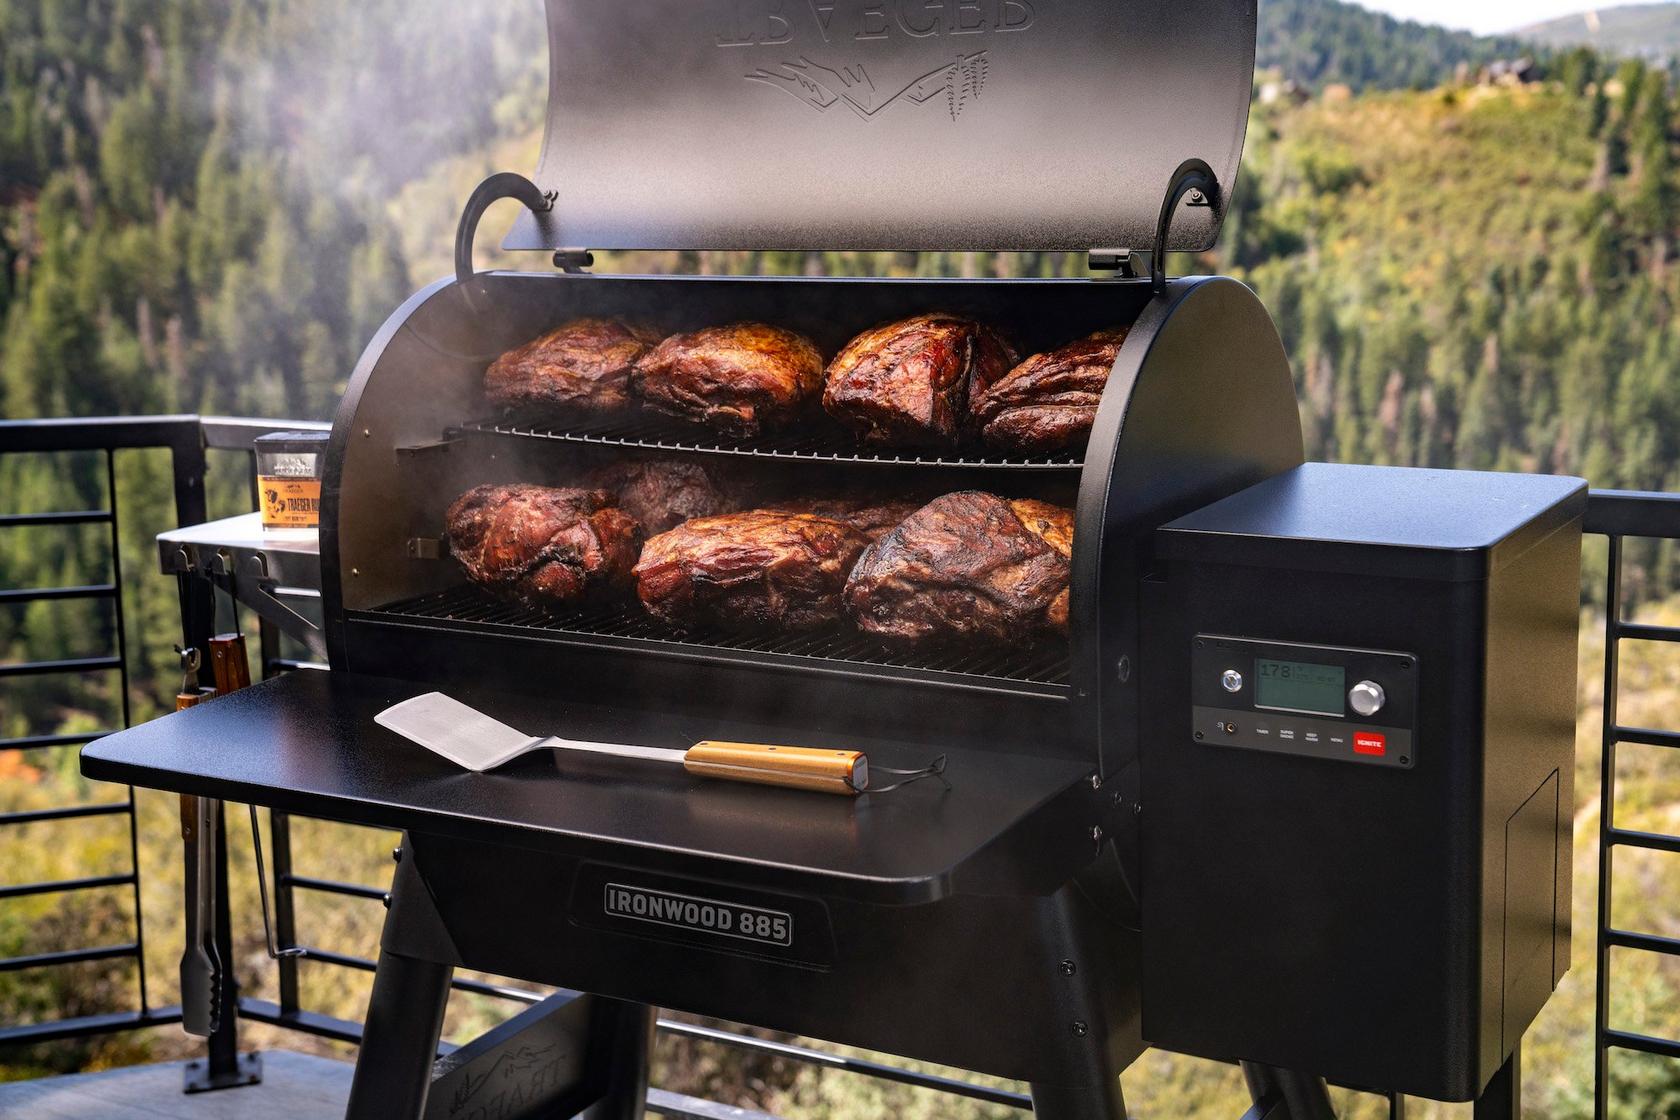
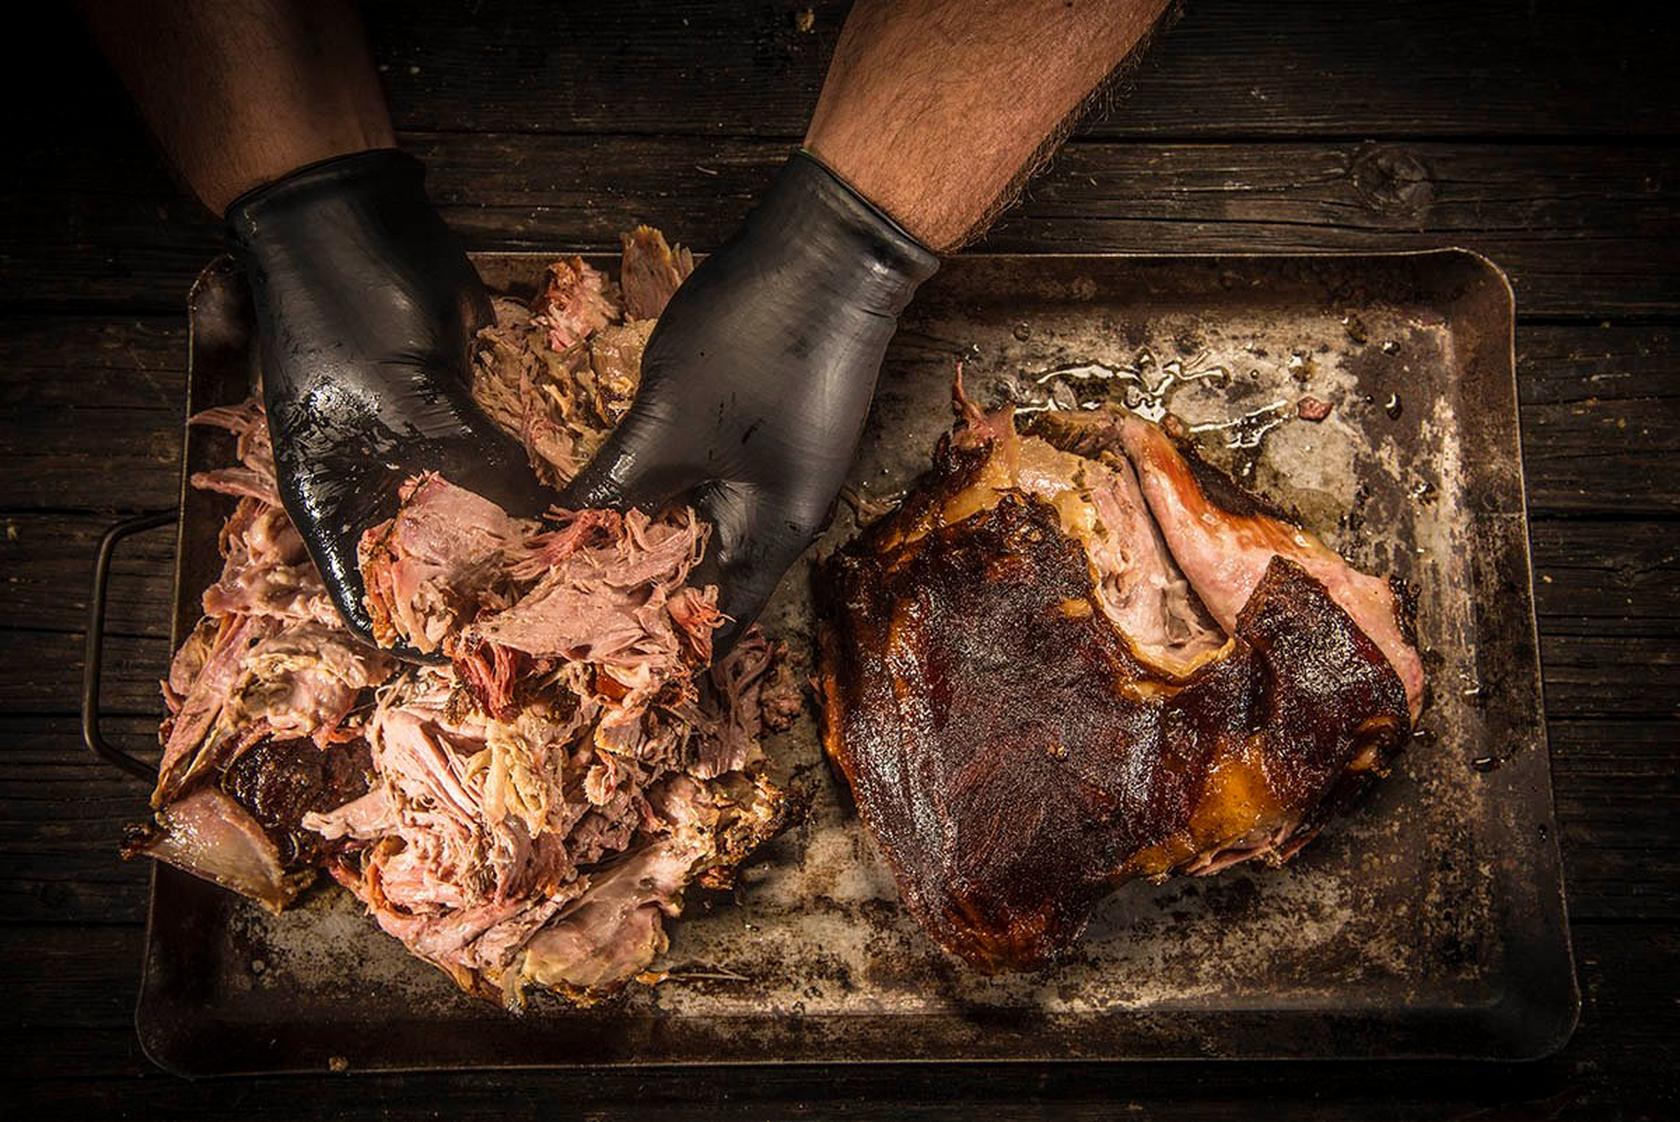
Meat Church Pulled Pork
Don't skip out on Meat Church pulled pork. Matt Pittman’s method for smoking pork butt includes all the details that make the difference, from how to create a killer crust to the best ways to gauge tenderness. His method for adding even more flavor during shredding is easy yet genius.
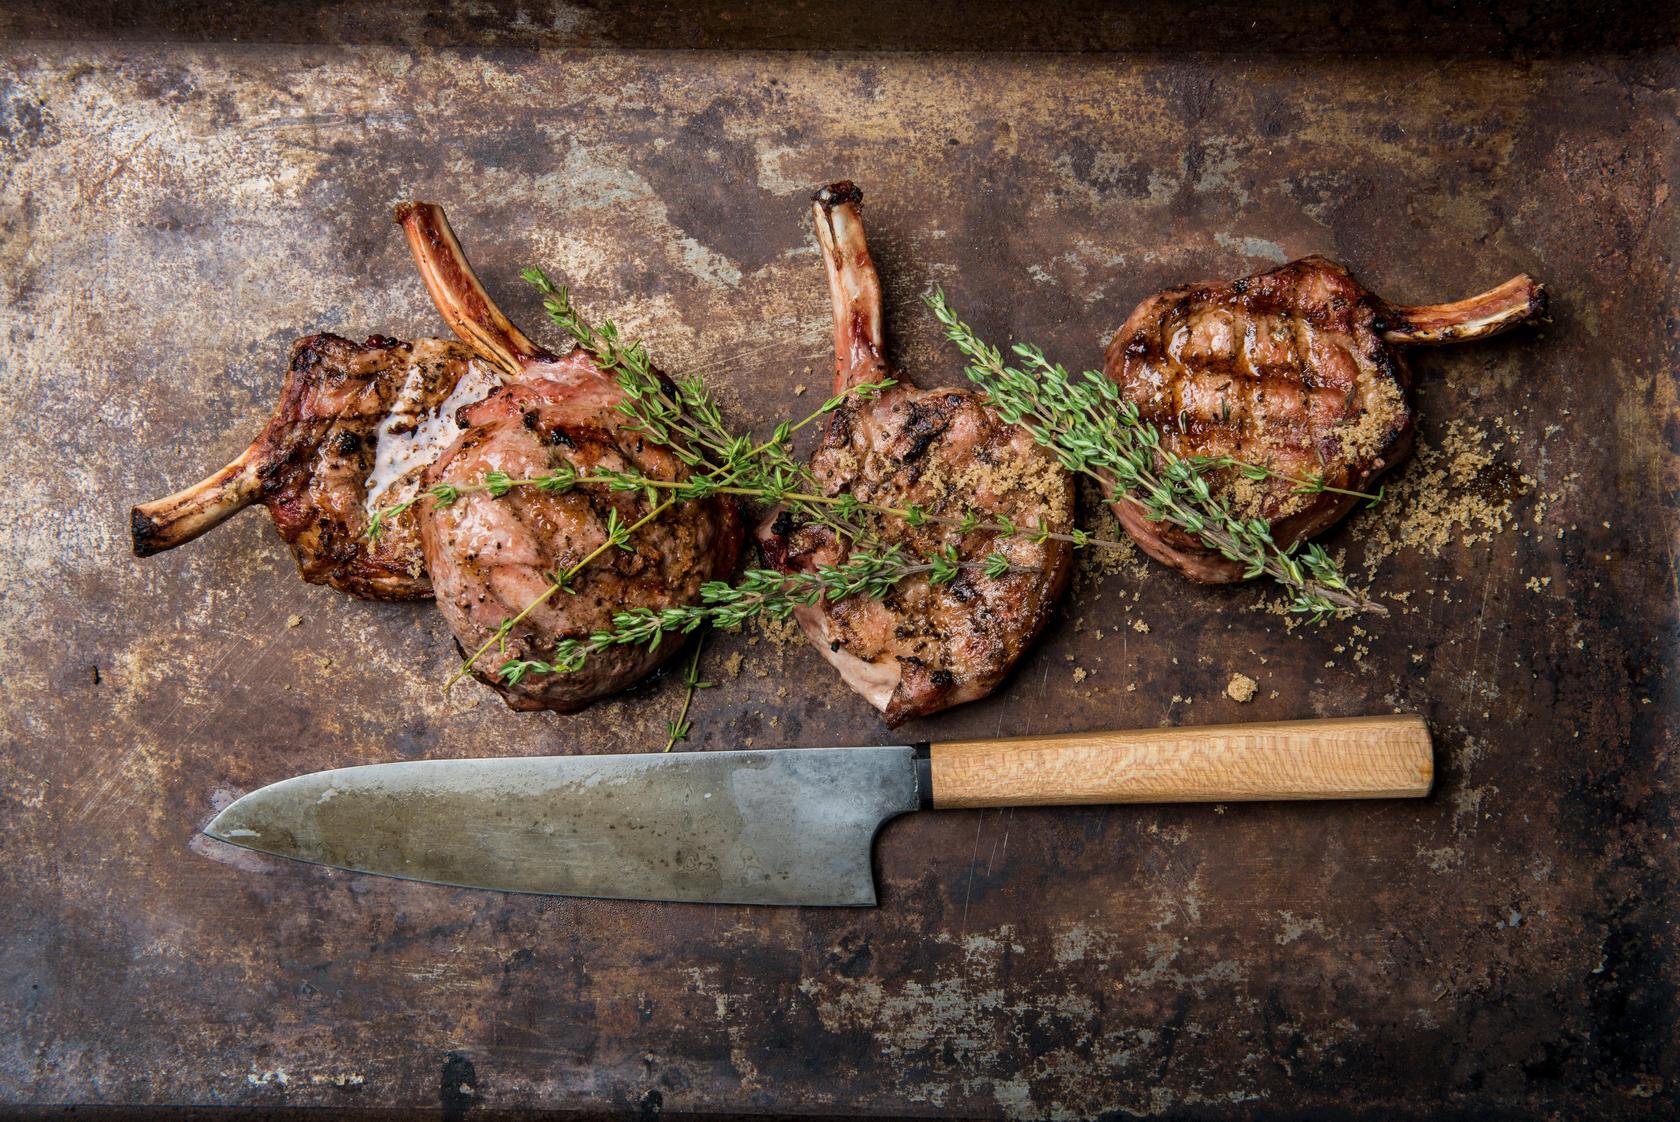
Texas-Style Monster Beef Ribs
Find out why Matt Pittman calls these giant beef ribs “the best bite in barbecue, end of story.” Though you can find these dinosaur-sized beef plate racks in just about any supermarket in Texas, folks living in other parts of the country may need to buy them mail order or ask their butcher to special order them. (If so, ask for a 123A rib.) While short ribs can come from this cut, you want these monster ribs to be long, at least 8 inches and up to a foot in length. When it comes to flavoring them, Texas barbecue seasoning is mainly salt and pepper, but Matt likes the added garlic in his Holy Cow BBQ Rub. Alternatively, you can use a mix of Traeger Coffee Rub and Traeger Beef Rub, a favorite combo from Traeger's Chad Ward.
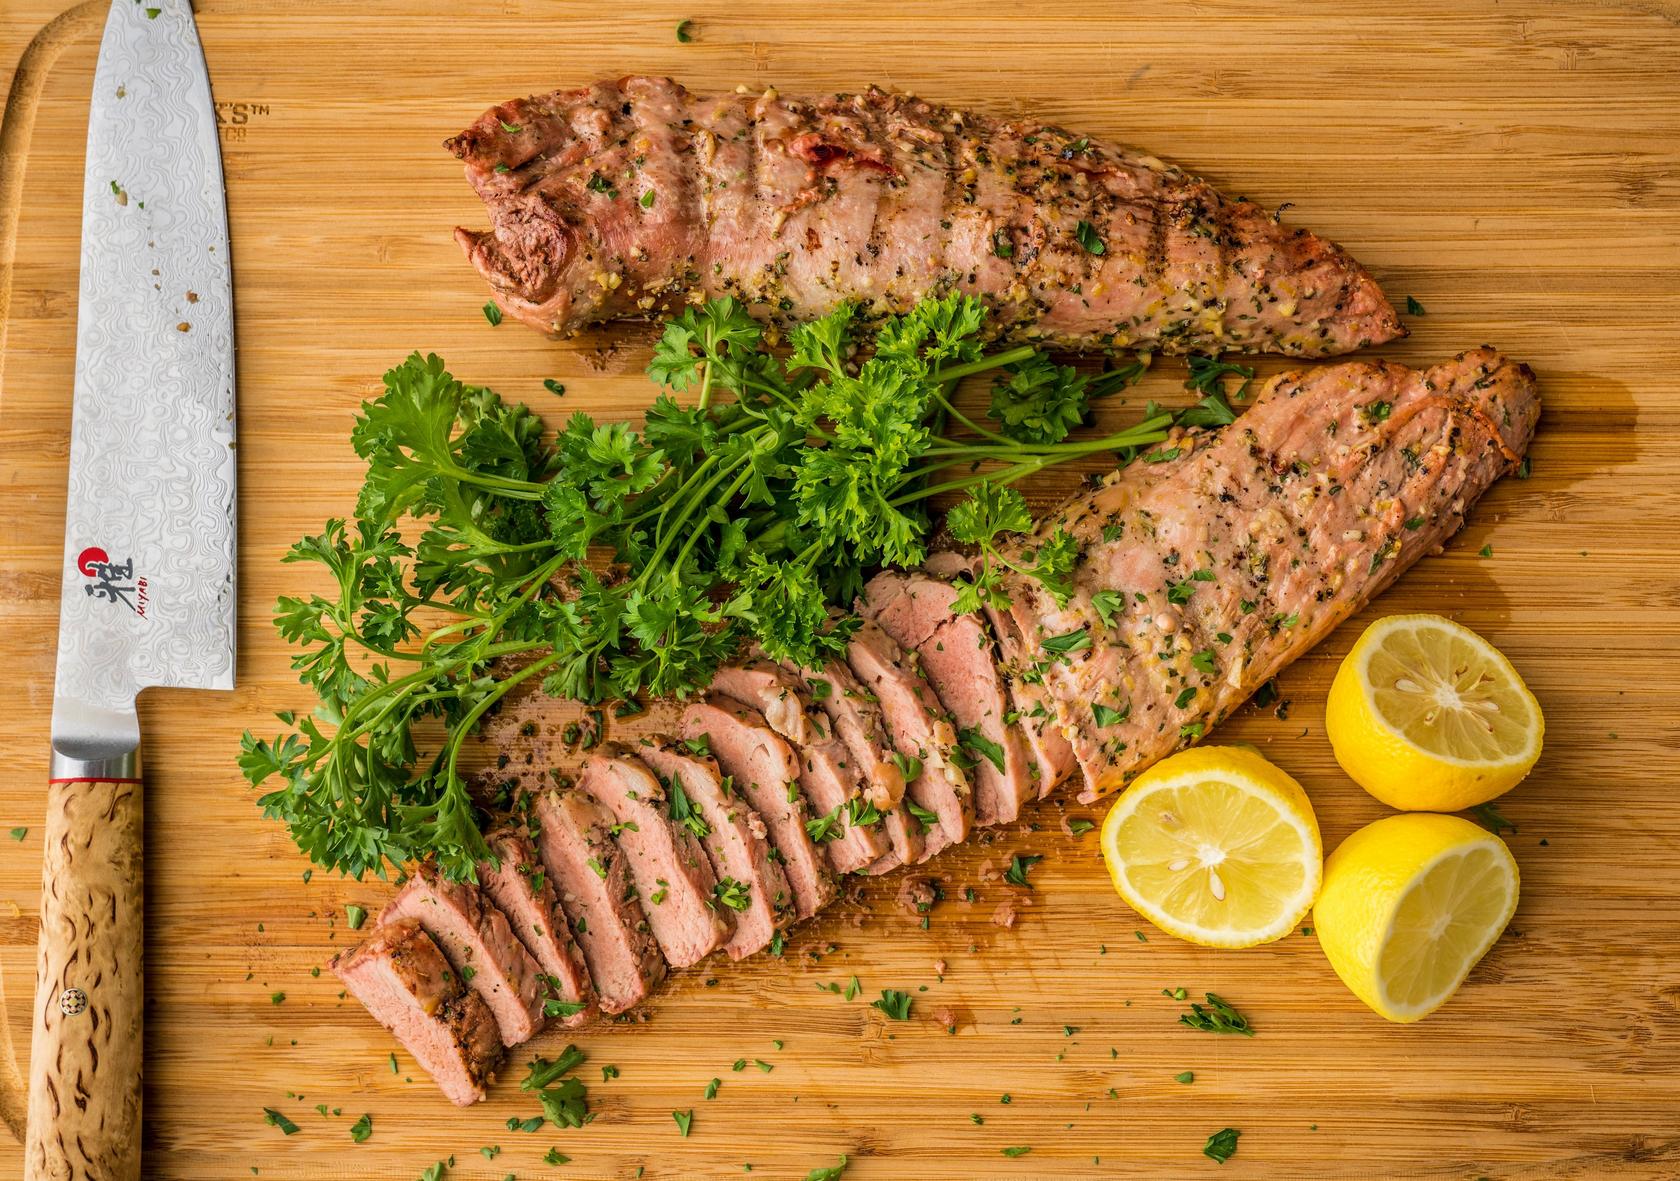
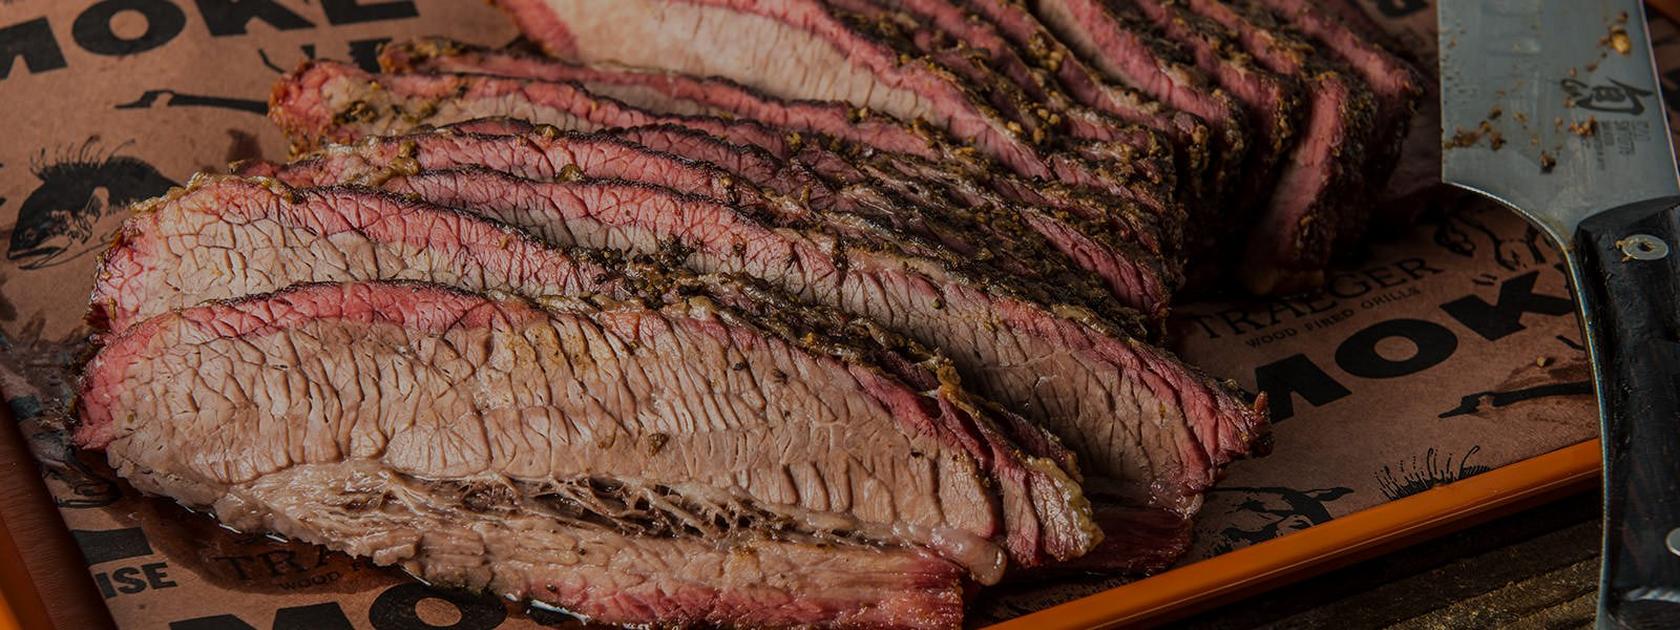
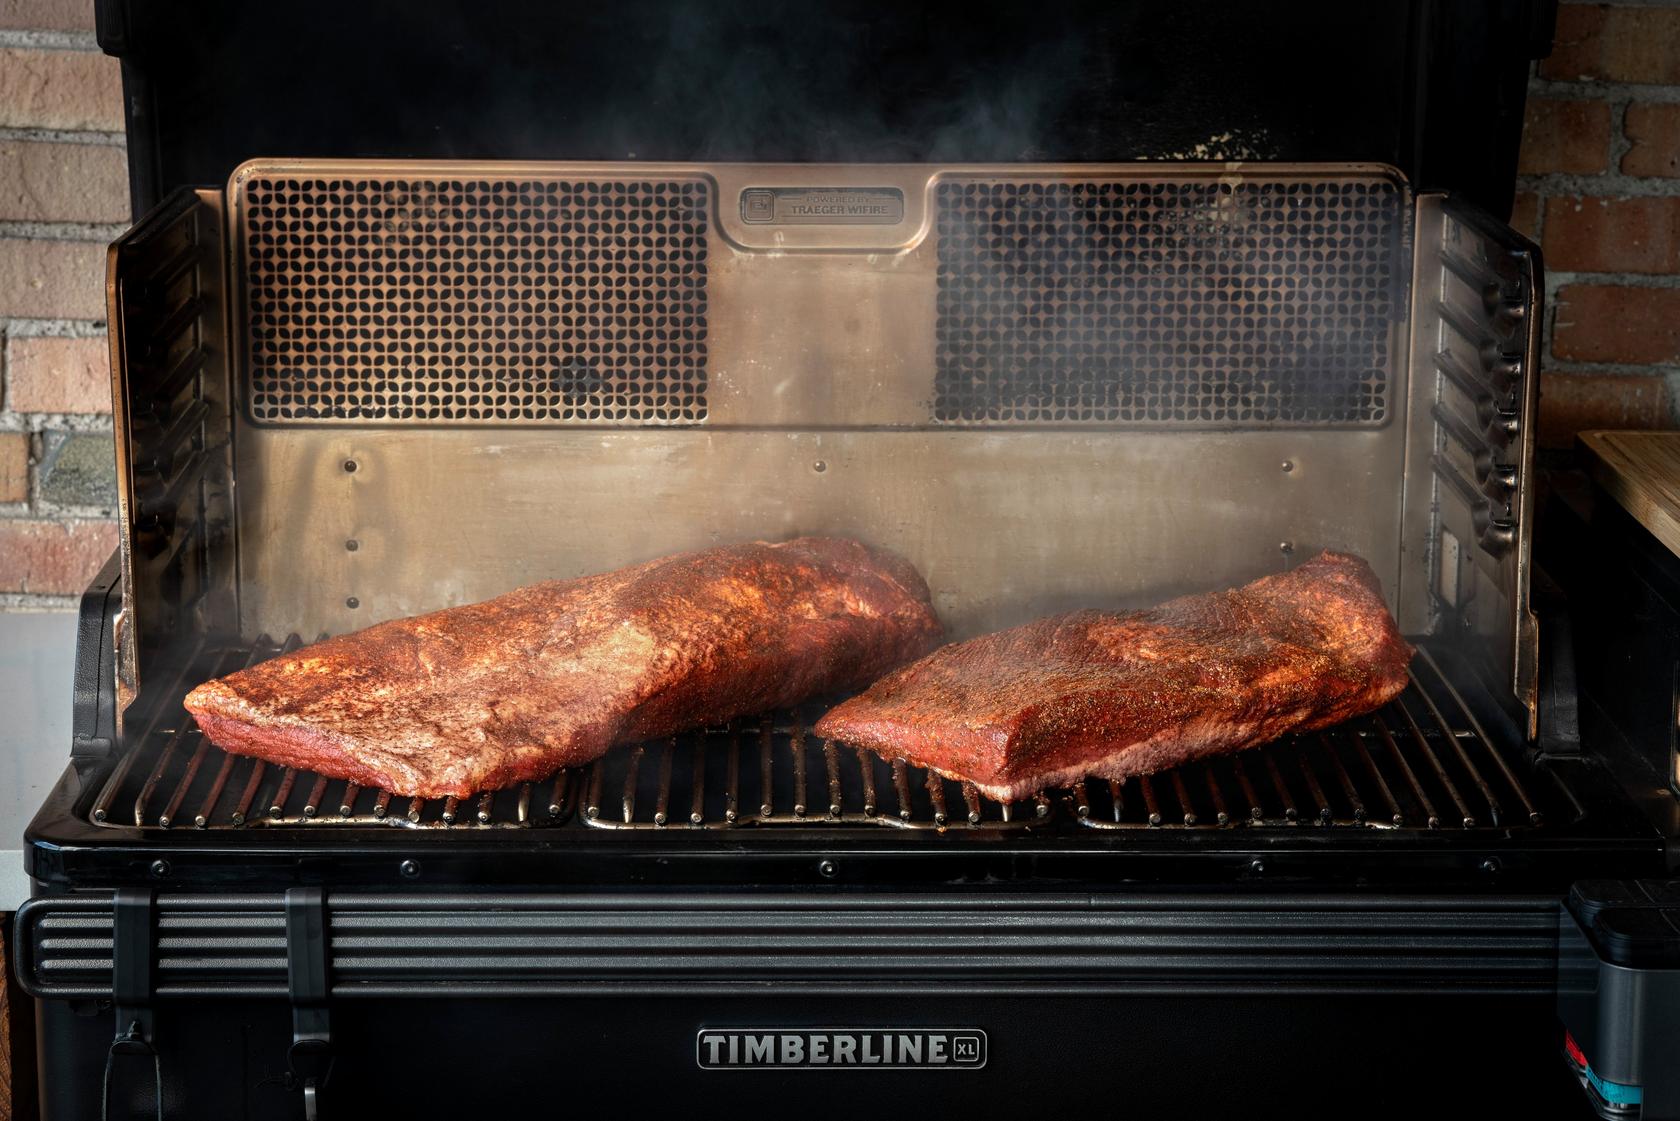
Texas-Style Brisket
Matt Pittman keeps this brisket simple but shares all the secrets to its success here. In Texas, brisket is mainly seasoned with salt and black pepper, but most BBQ joints in the Lone Star State will add a little something else, like Lowry’s, too. Matt goes with a liberal coating of his Holy Cow BBQ Rub followed by a light sprinkling of his Holy Gospel BBQ Rub. Other great options are Traeger Beef Rub or Prime Rib Rub. No matter what you season it with, if you follow Matt's advice, you'll wind up with slices of some damn fine brisket.
Cuts of Beef
Ribeye, New York strip, and sirloin are familiar terms. But those are only a few of the 51 total cuts of beef. Explore our Cuts of Beef guide and learn all of the different cuts and how you can identify, prepare, and cook them.
This is a carousel. Tab through the slides for content.
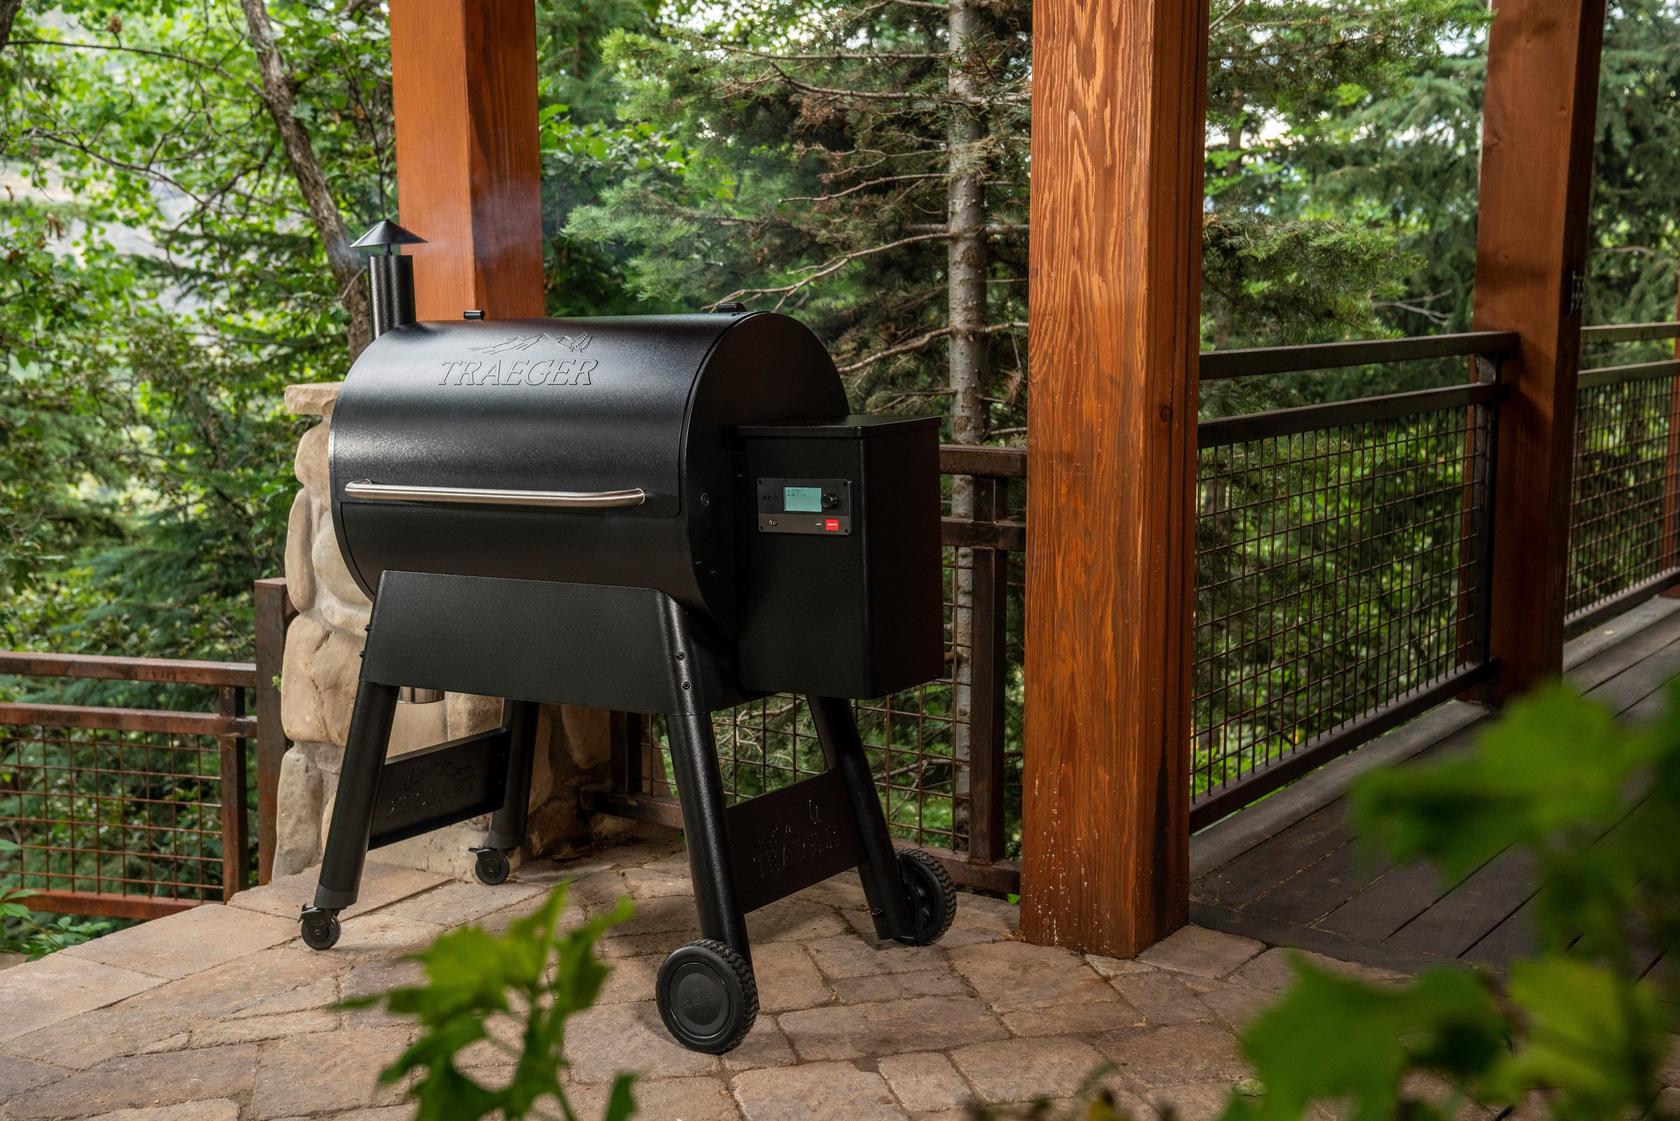
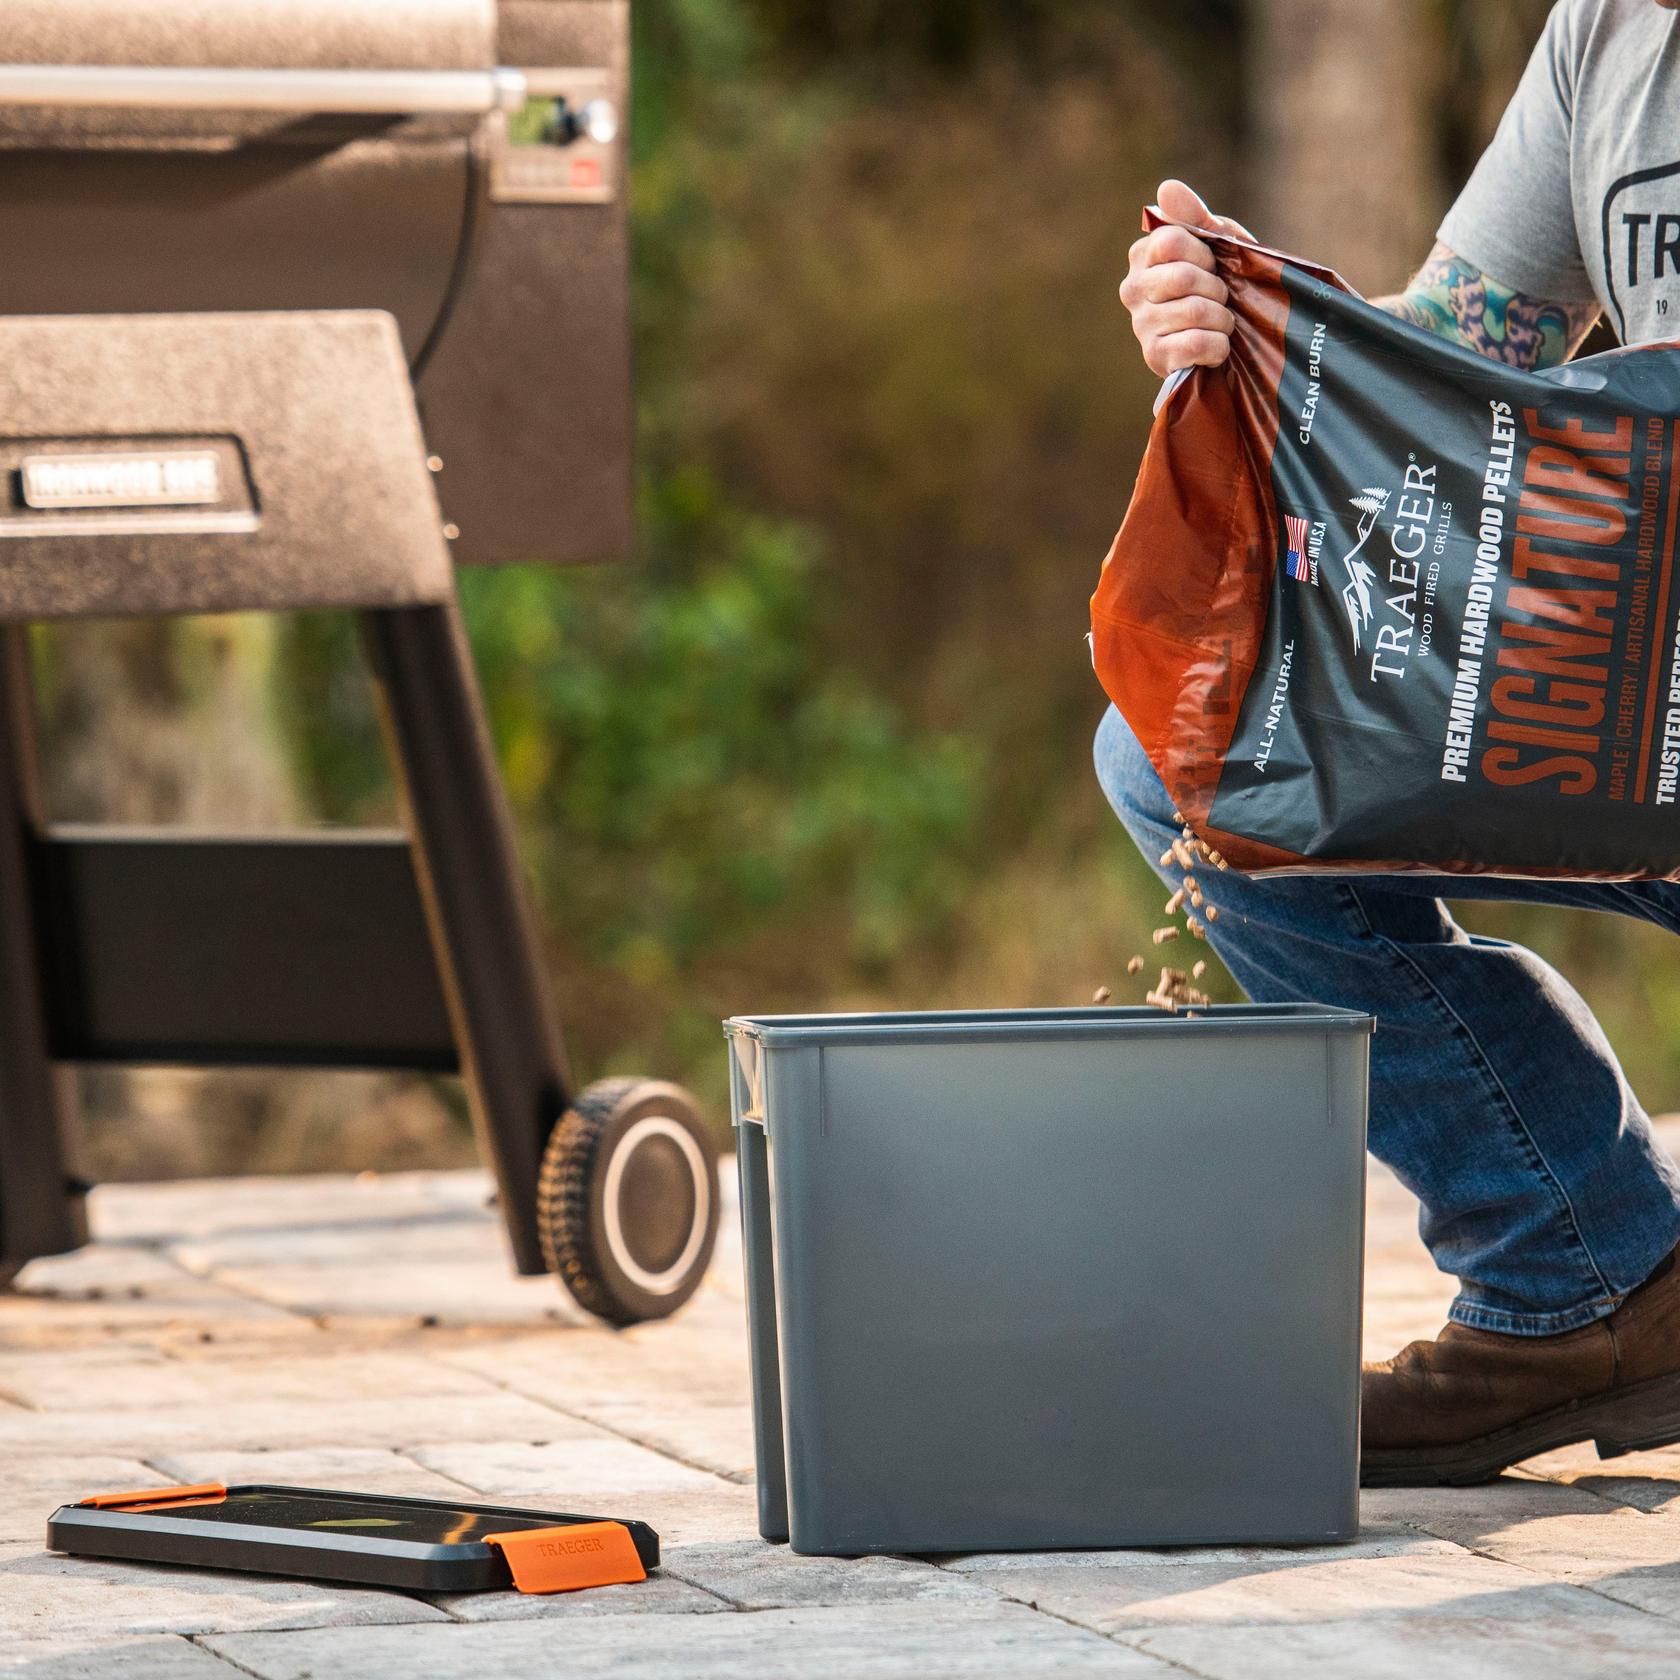
GETTING STARTED
An introduction to all things Traeger

This is a carousel. Tab through the slides for content.
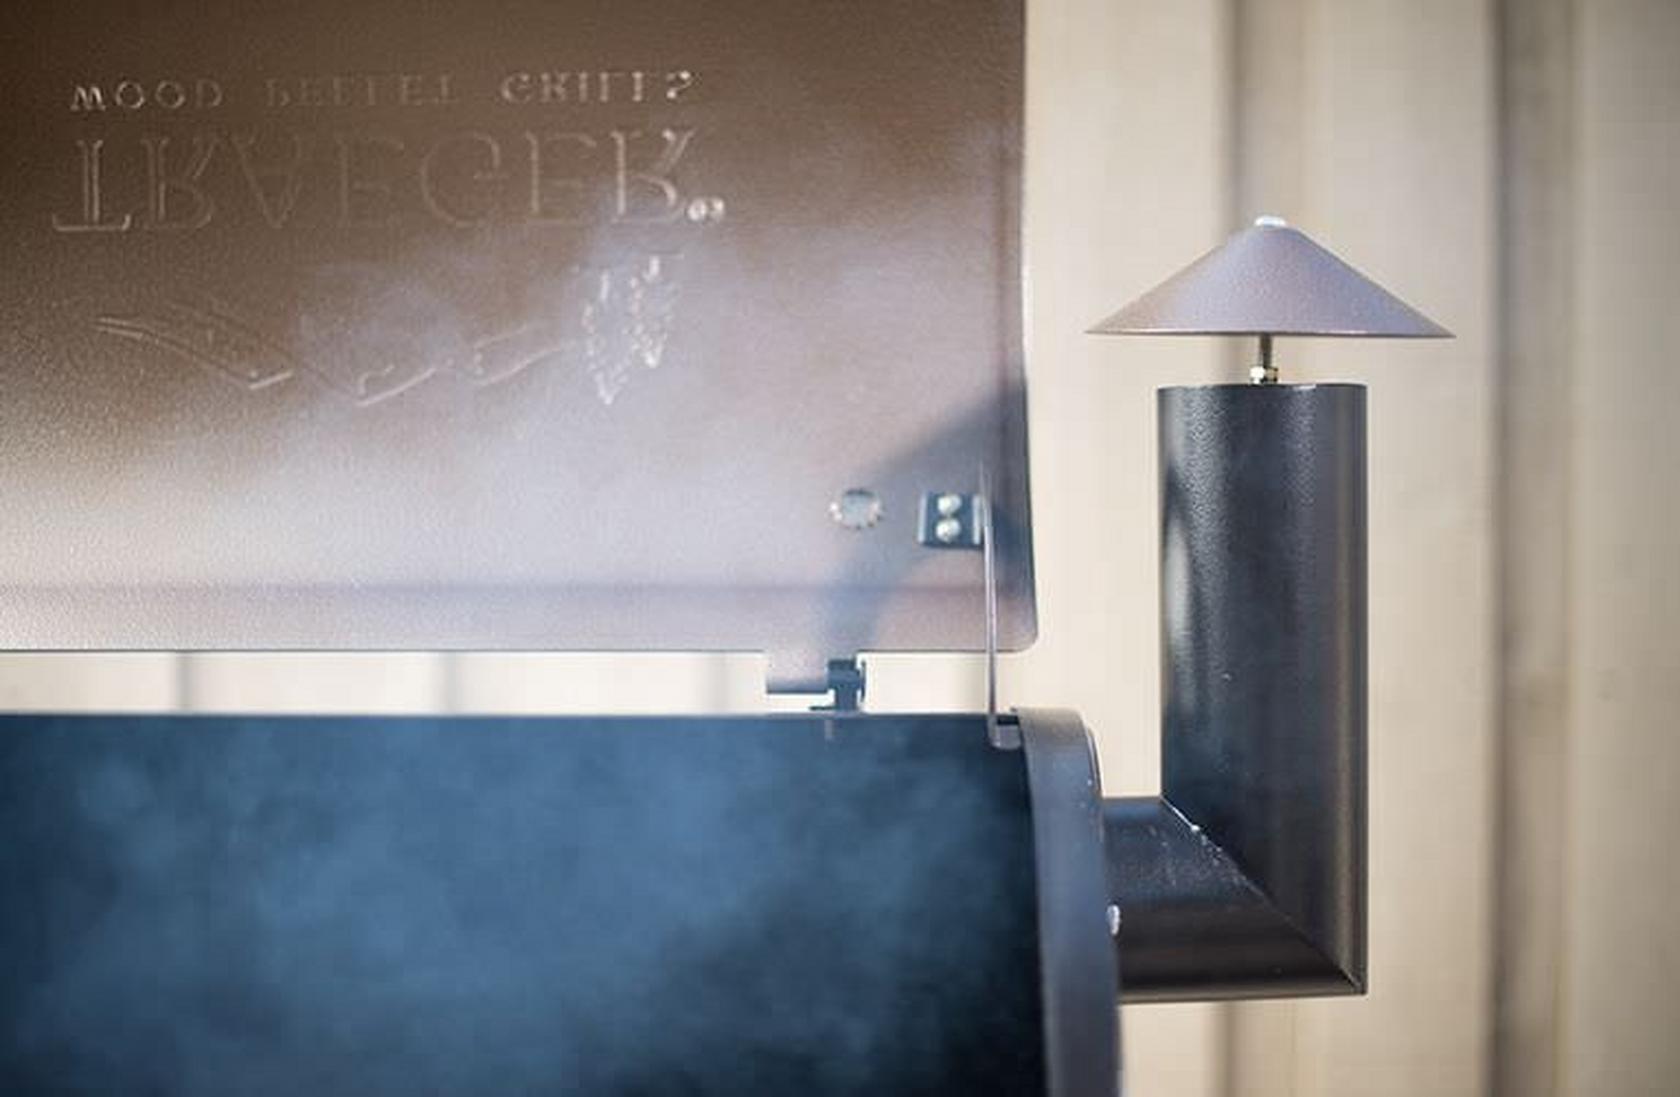
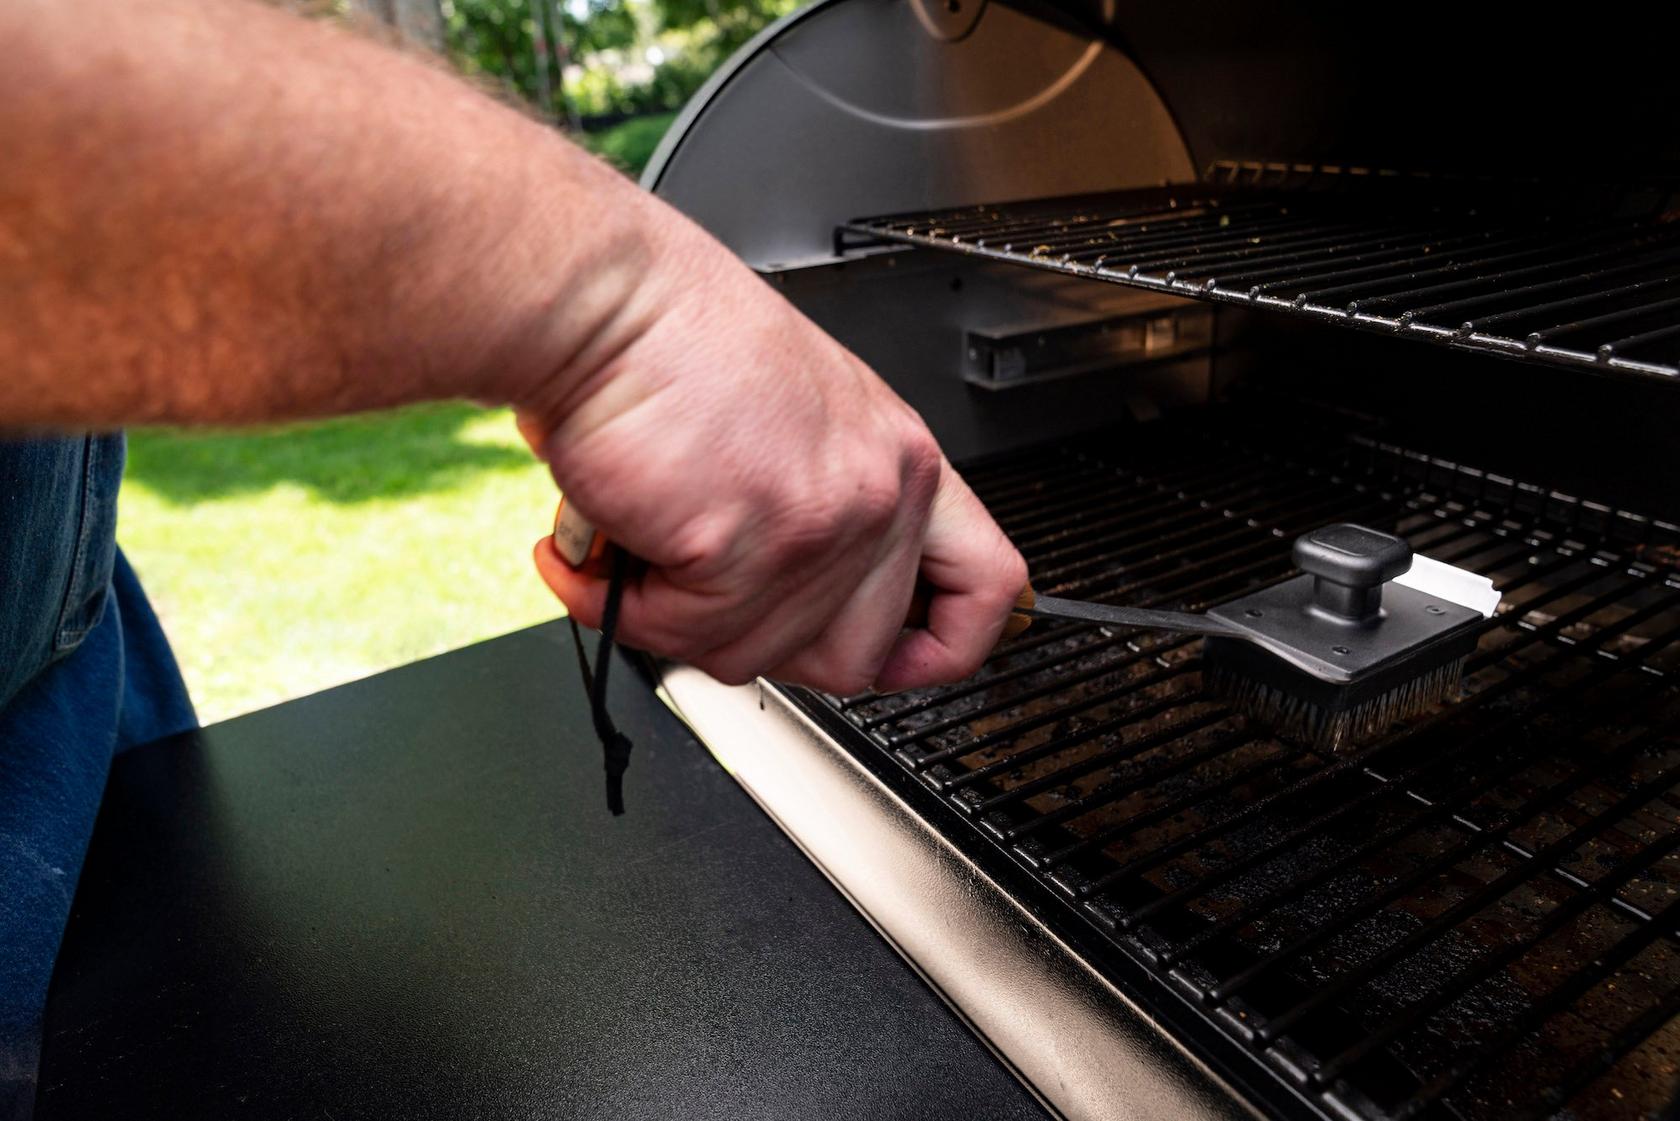
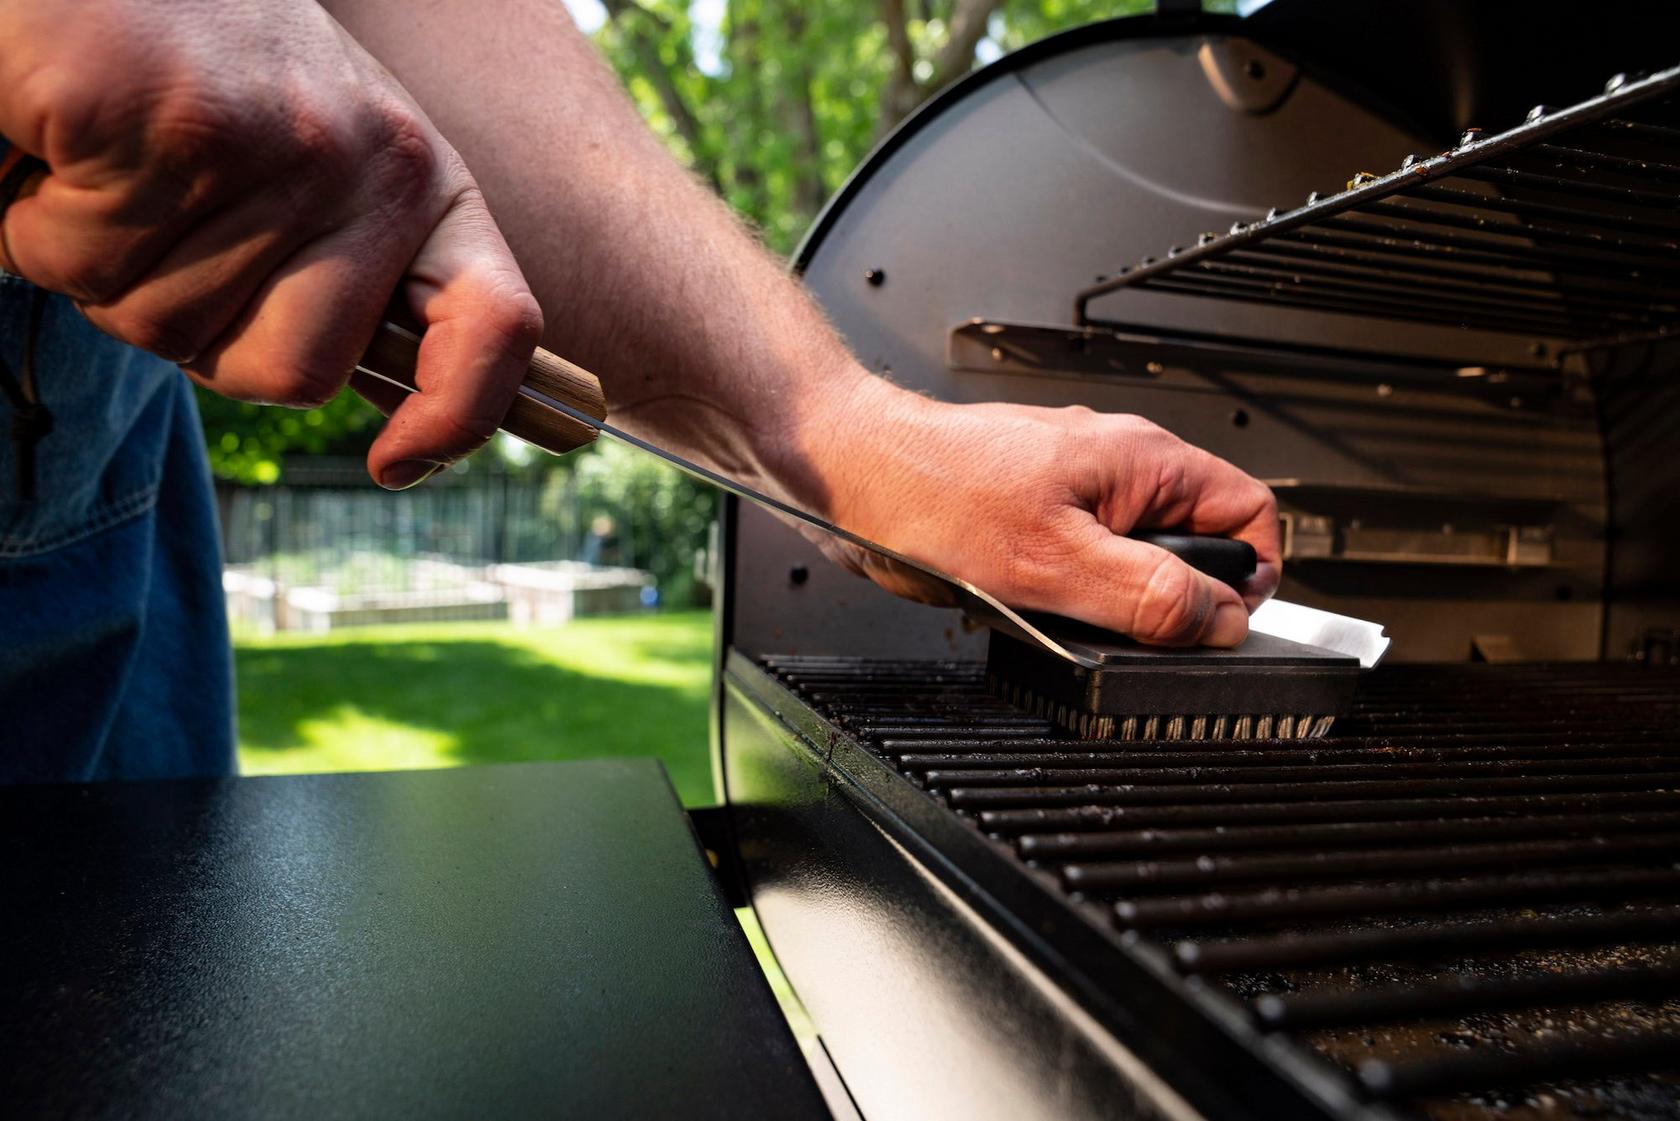
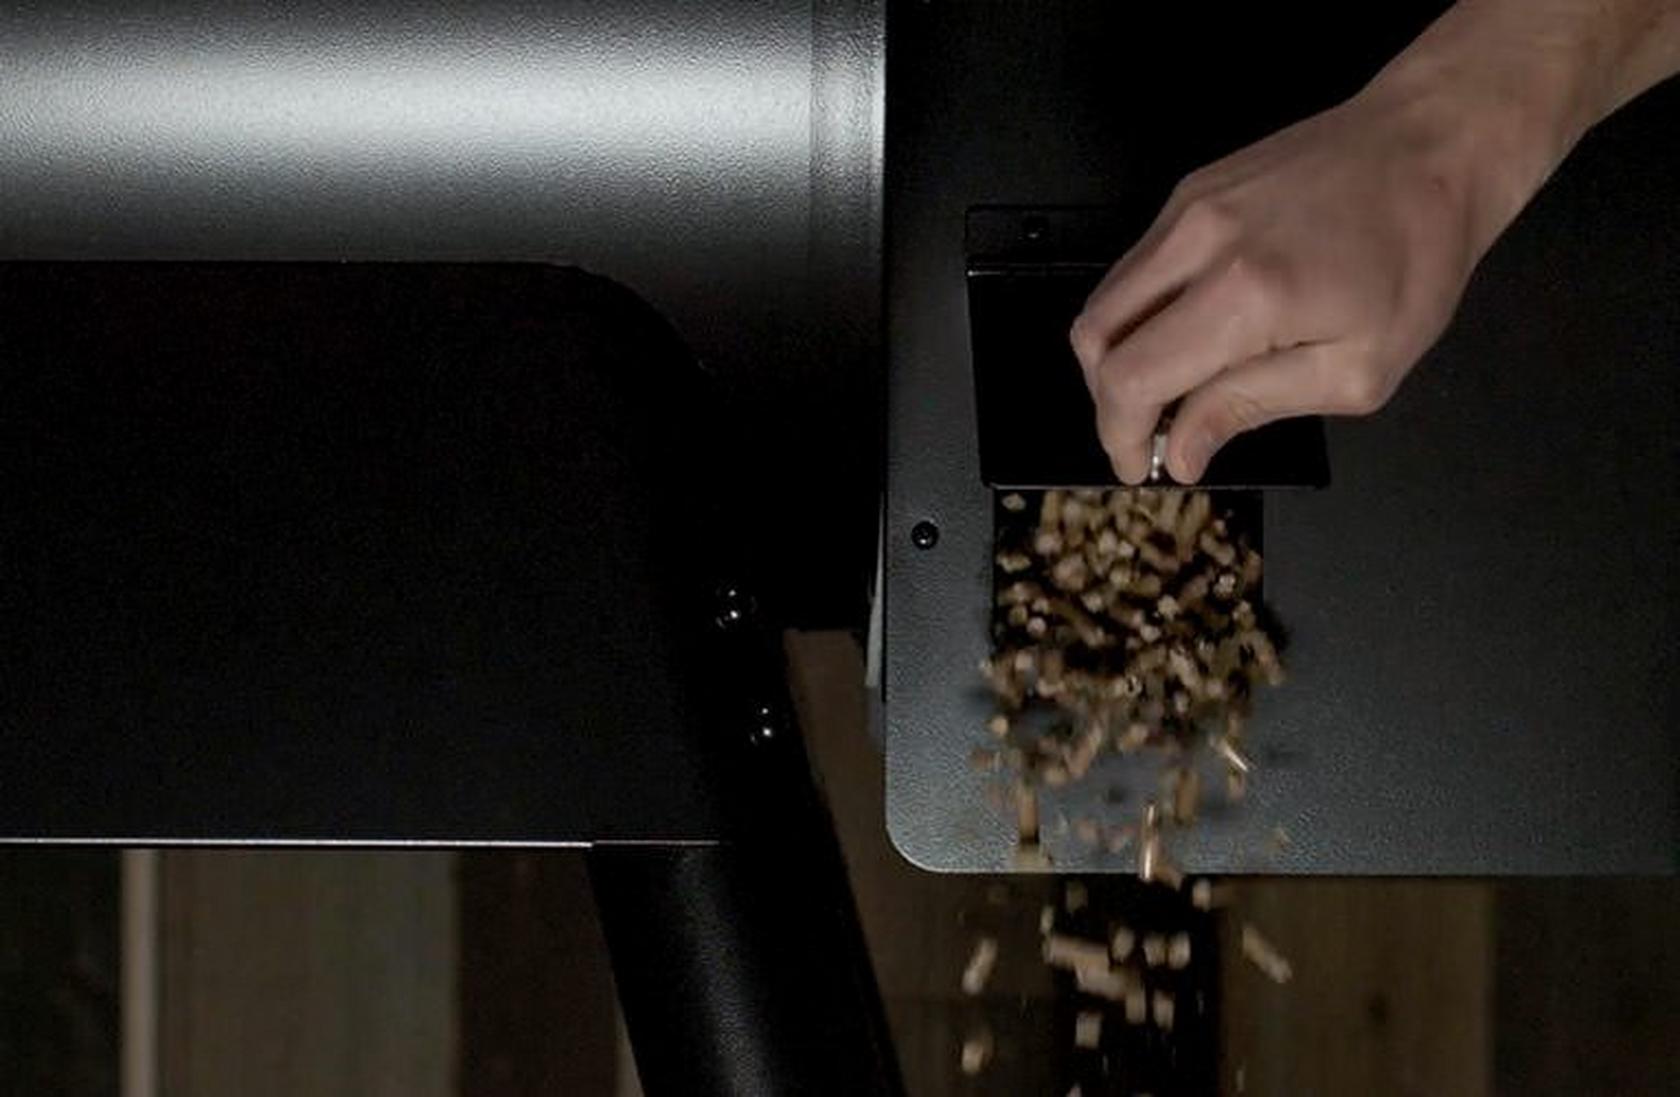
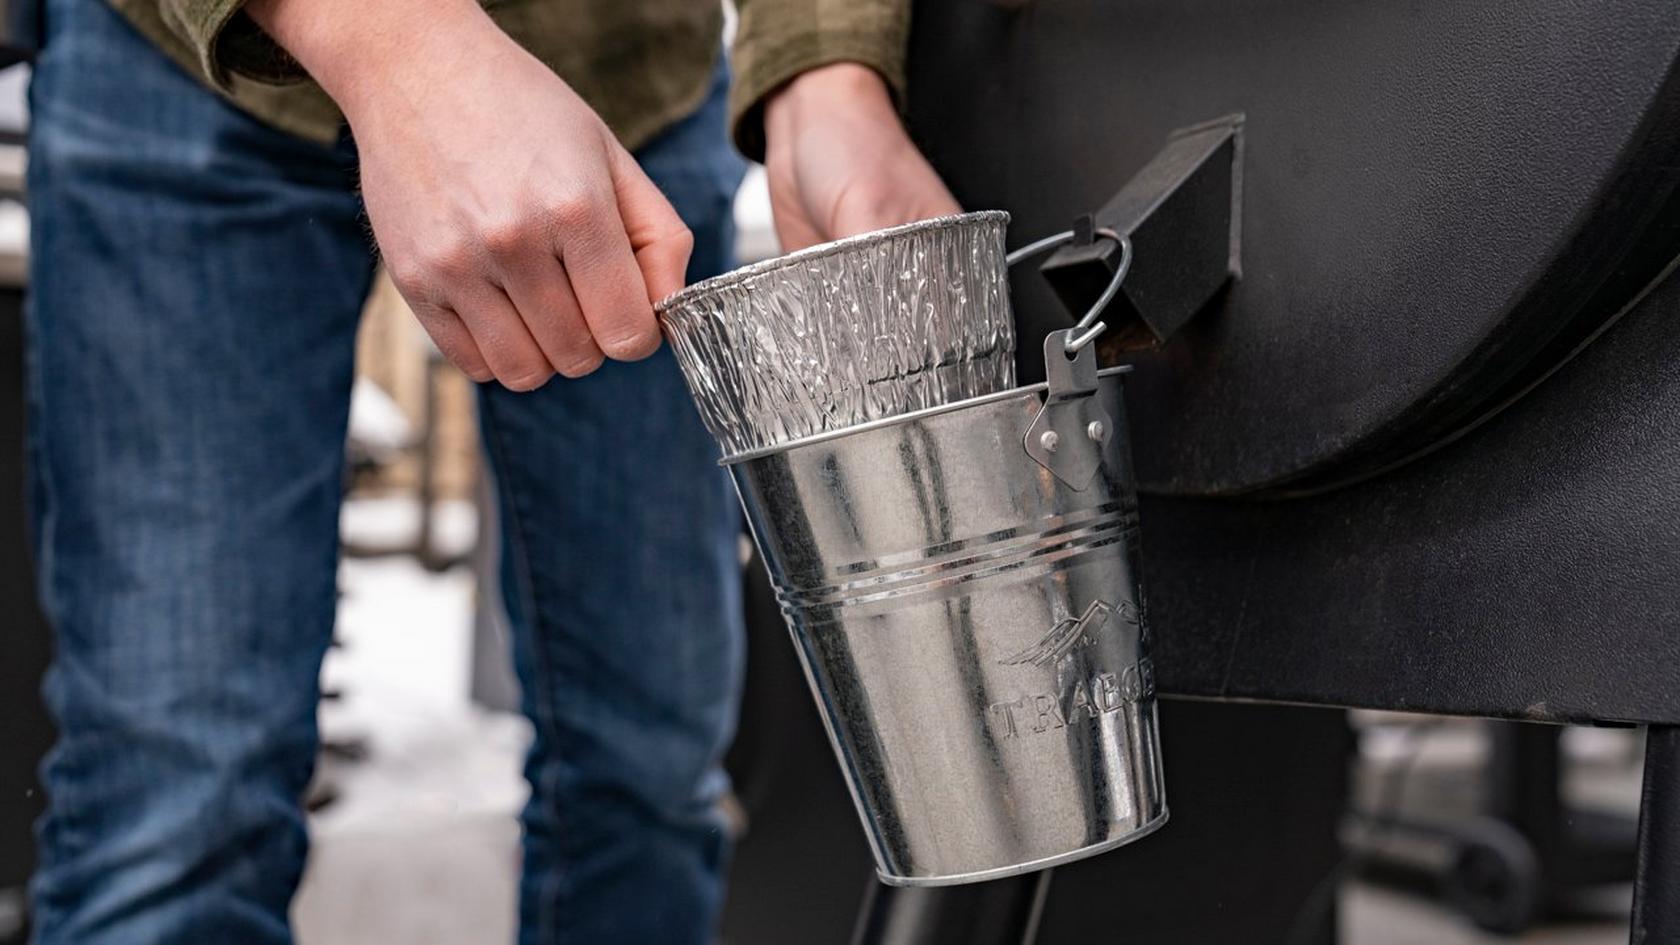
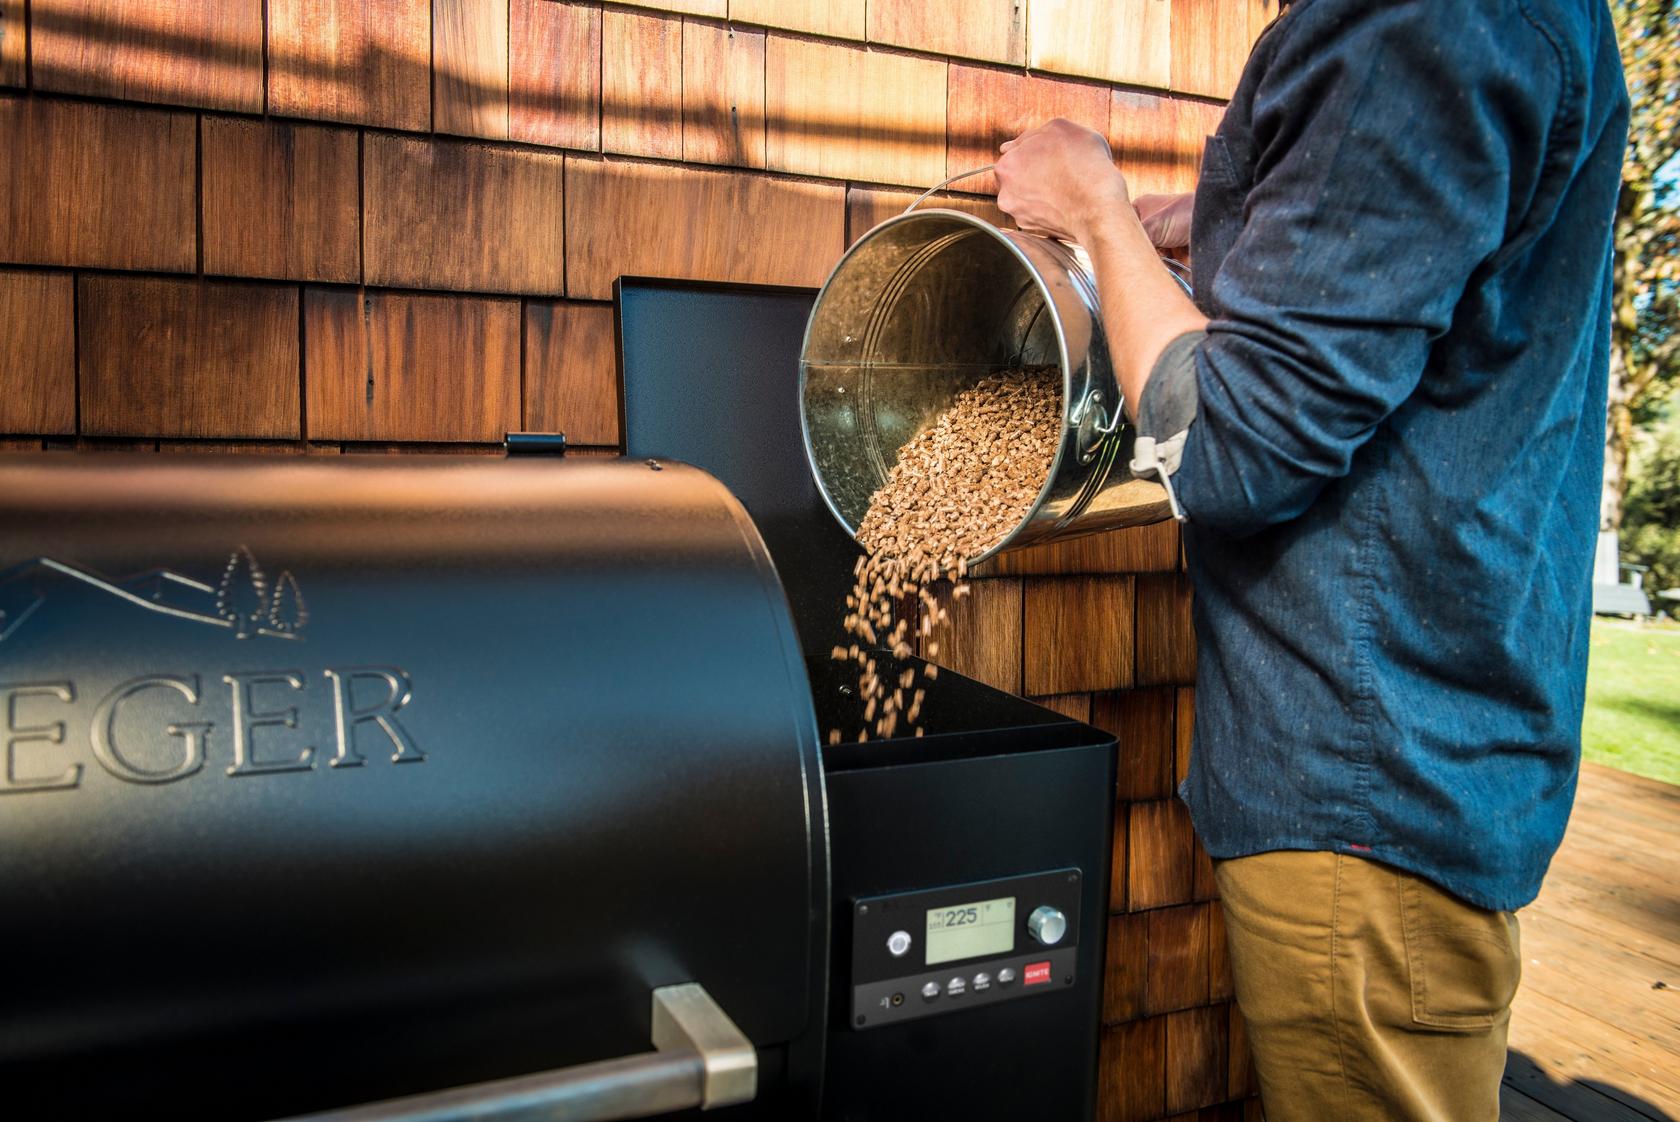
GRILL CARE
Learn the basics of maintaining your Traeger grill.
This is a carousel. Tab through the slides for content.
Guides
A library of guides on times and temperatures and our top recipes.
This is a carousel. Tab through the slides for content.
PRO TIPS
Tips from our elite lineup of Traeger pros.
This is a carousel. Tab through the slides for content.